Here is the latest batch, fresh off the oven.
It needs a base. Some issues there -- no problem when the column is 6 inches tall but serious problems when the column is 6 feet tall.
Worse issues have to do with the fact that it works fine in steady state (all the pennies are in there) but it is very easy to get in a bad state (stable and... wrong) loading the pennies from the top because pennies can get it sideways between the cover and the body. This may be fatal. This may be why people build prototypes.
In the meantime your comment about the pennies not getting out of the slots set me thinking and we will do a new prototype that does not have a transparent cover. Unfortunately the new design requires ordering a pretty special cutter for the mill so it will be a few days before we can even try it.
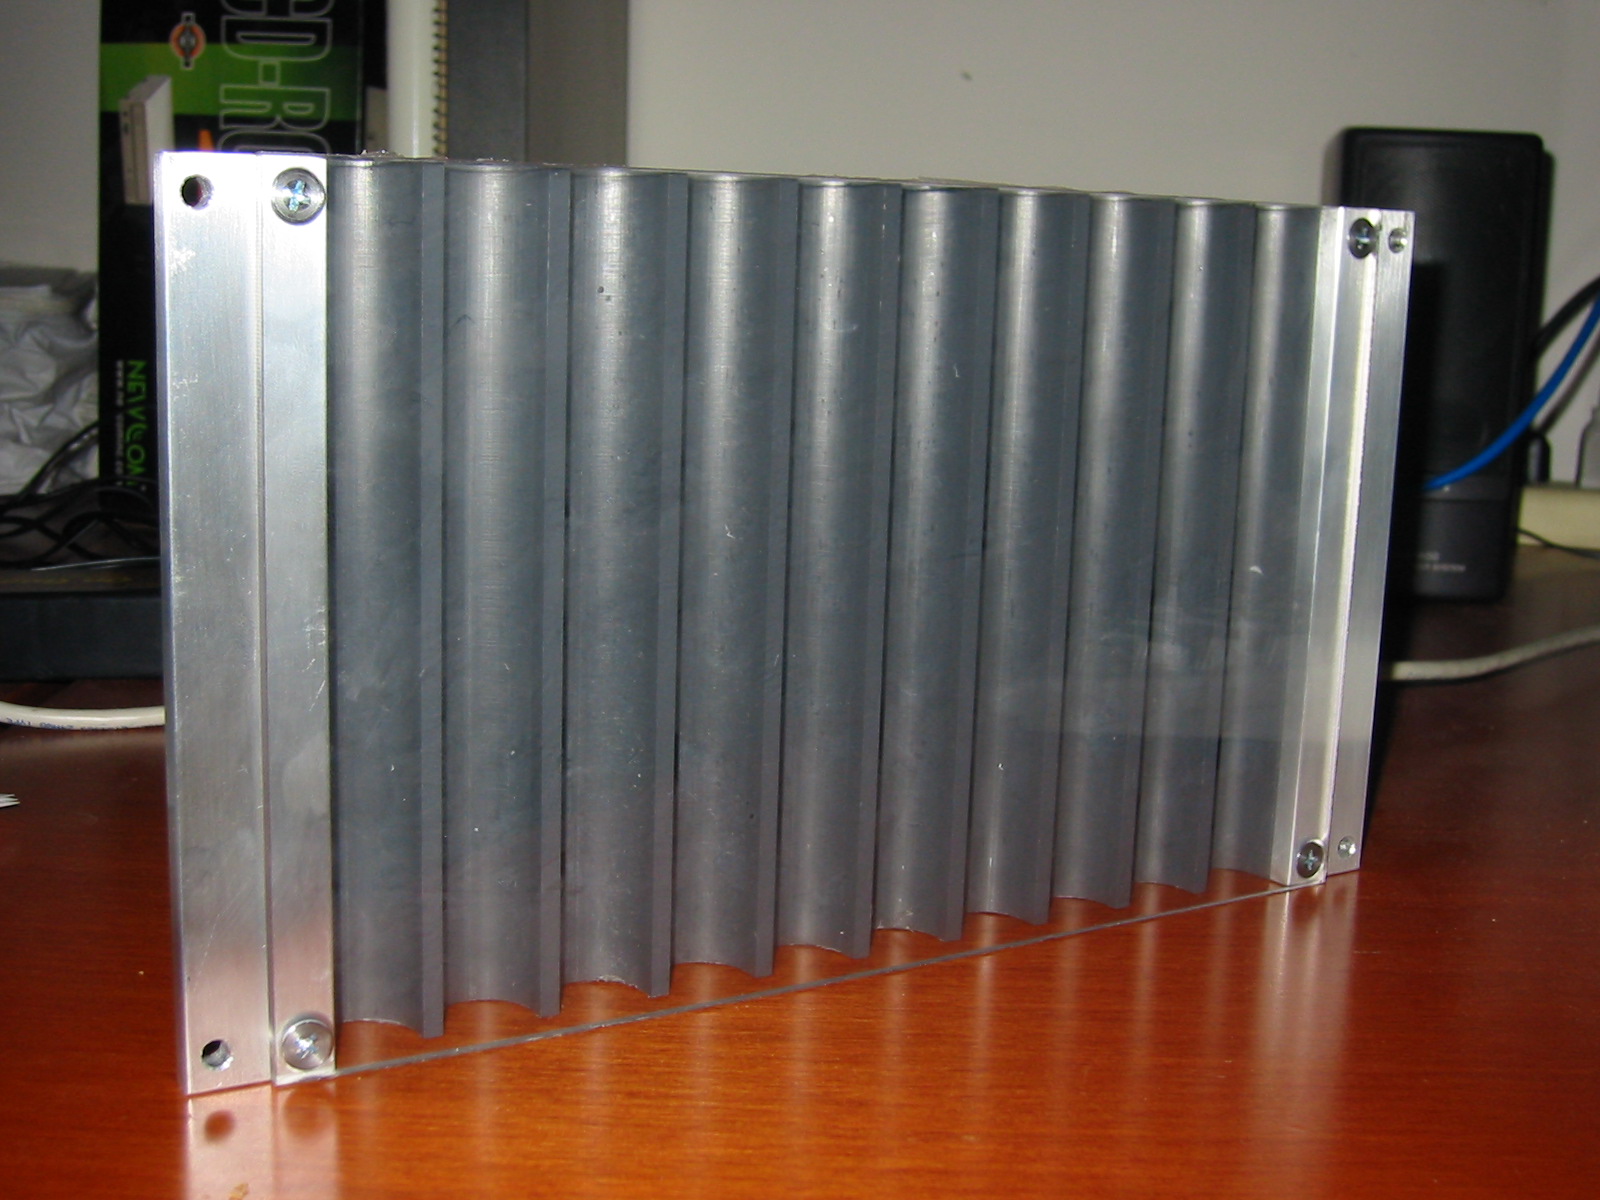
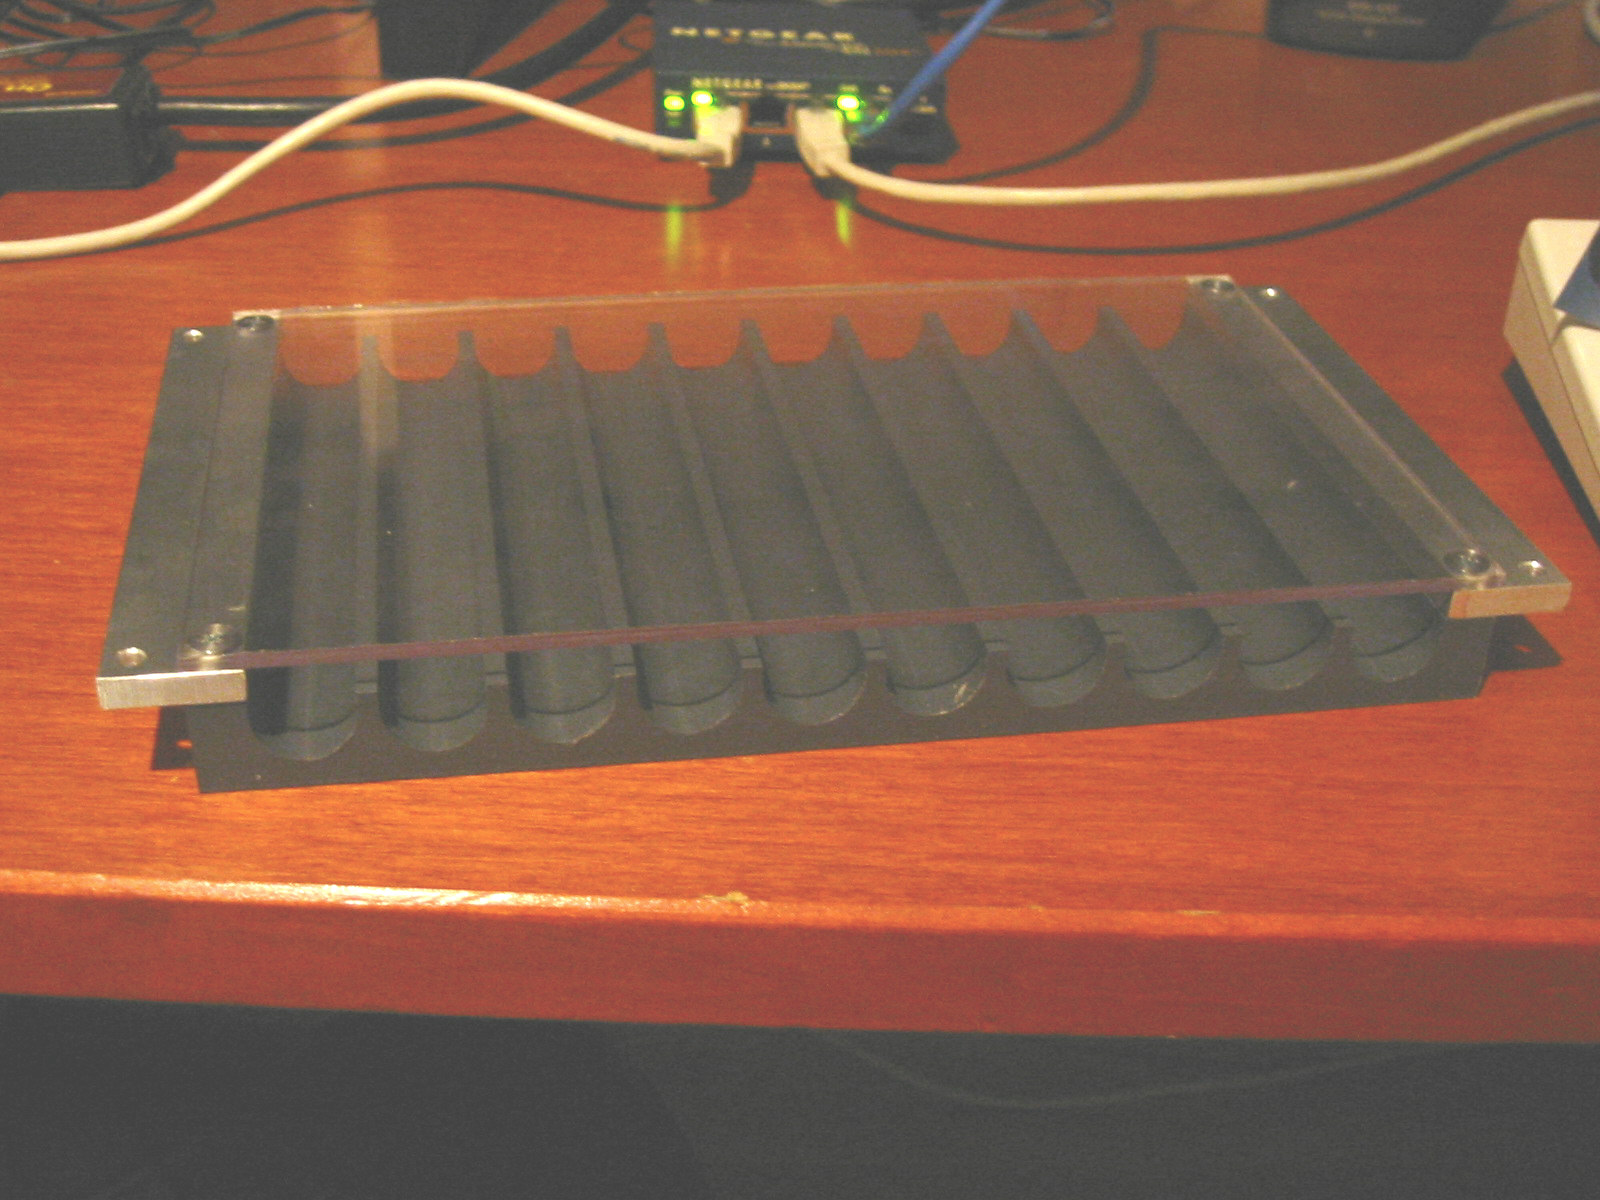
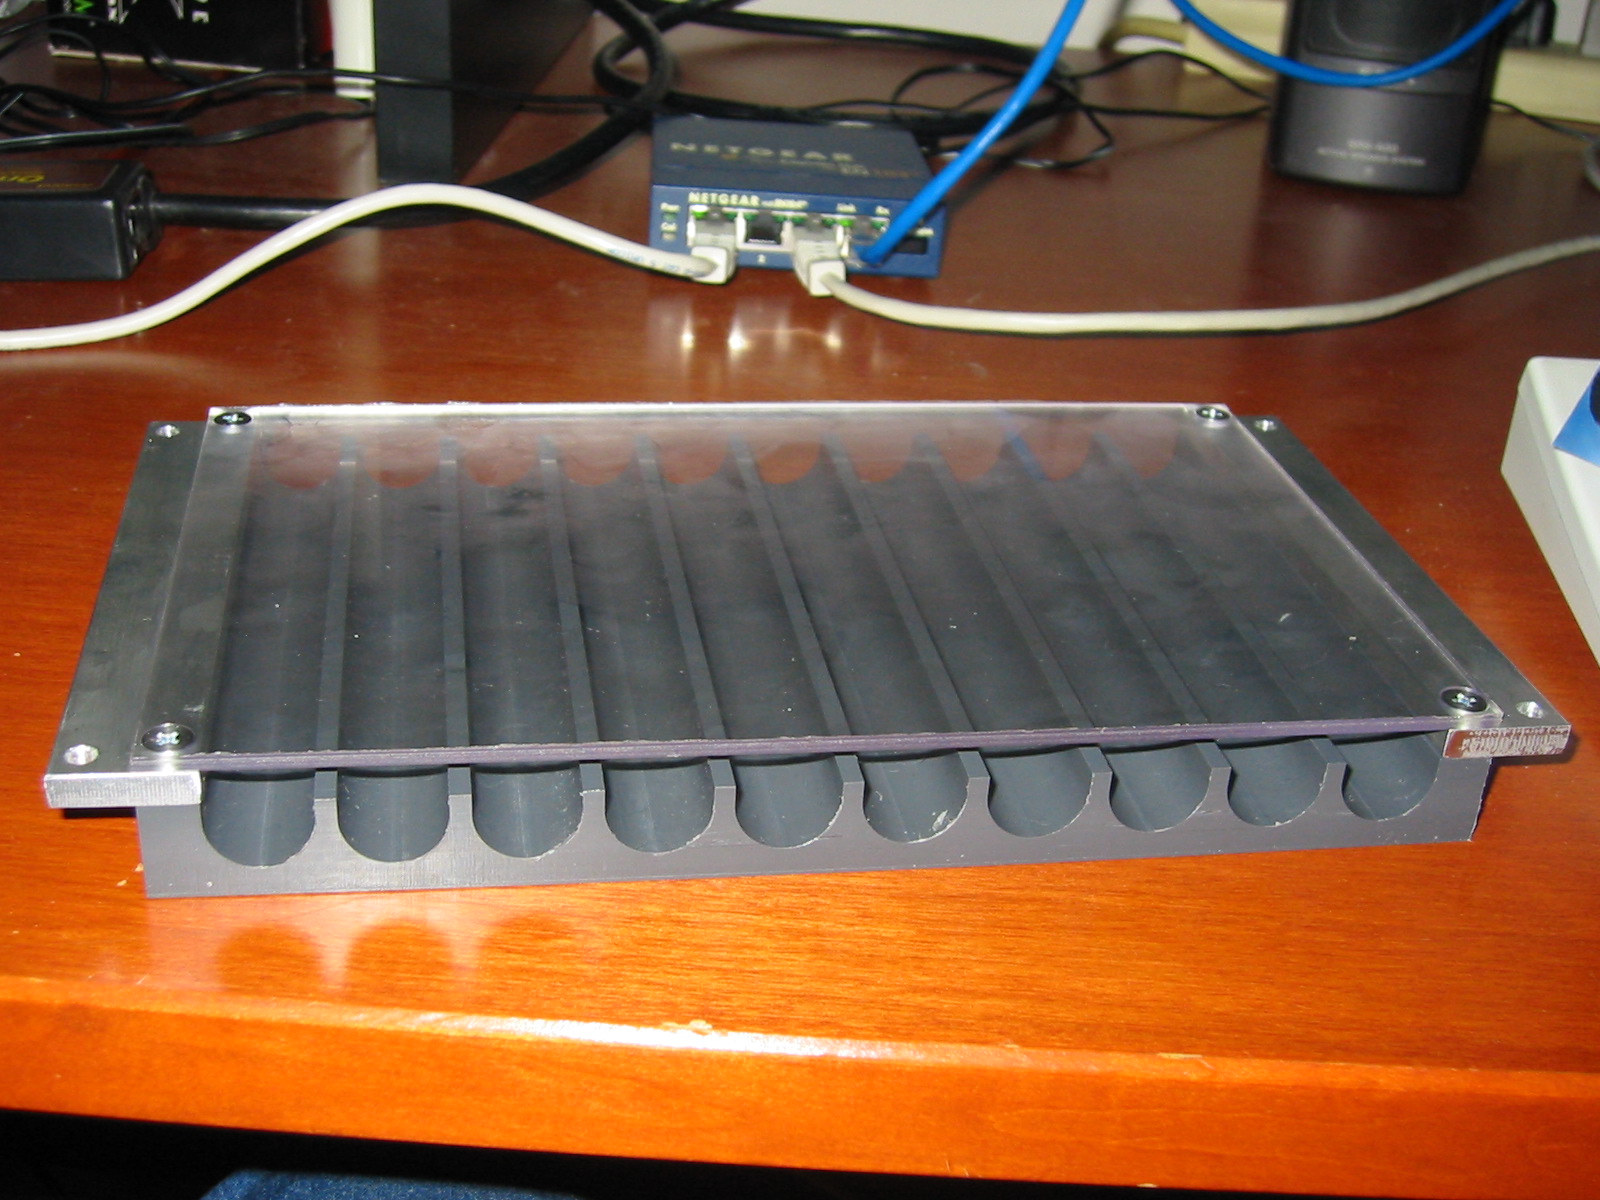

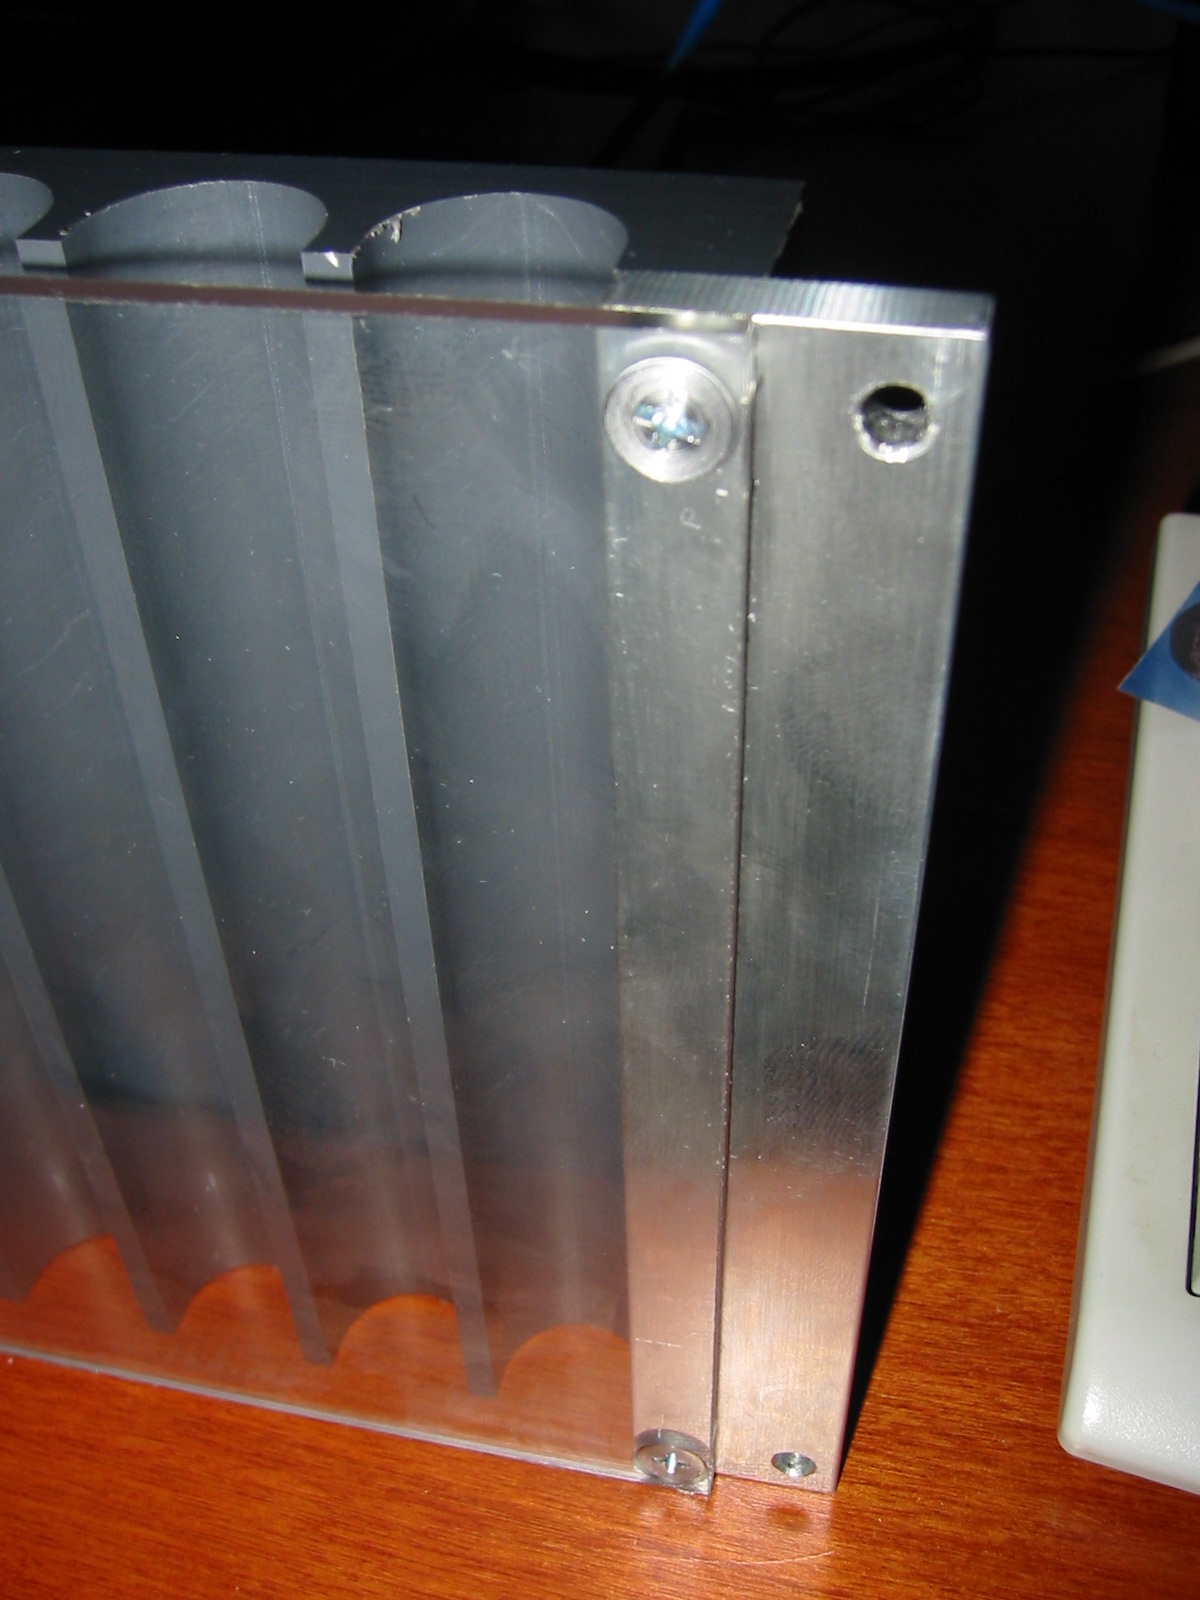
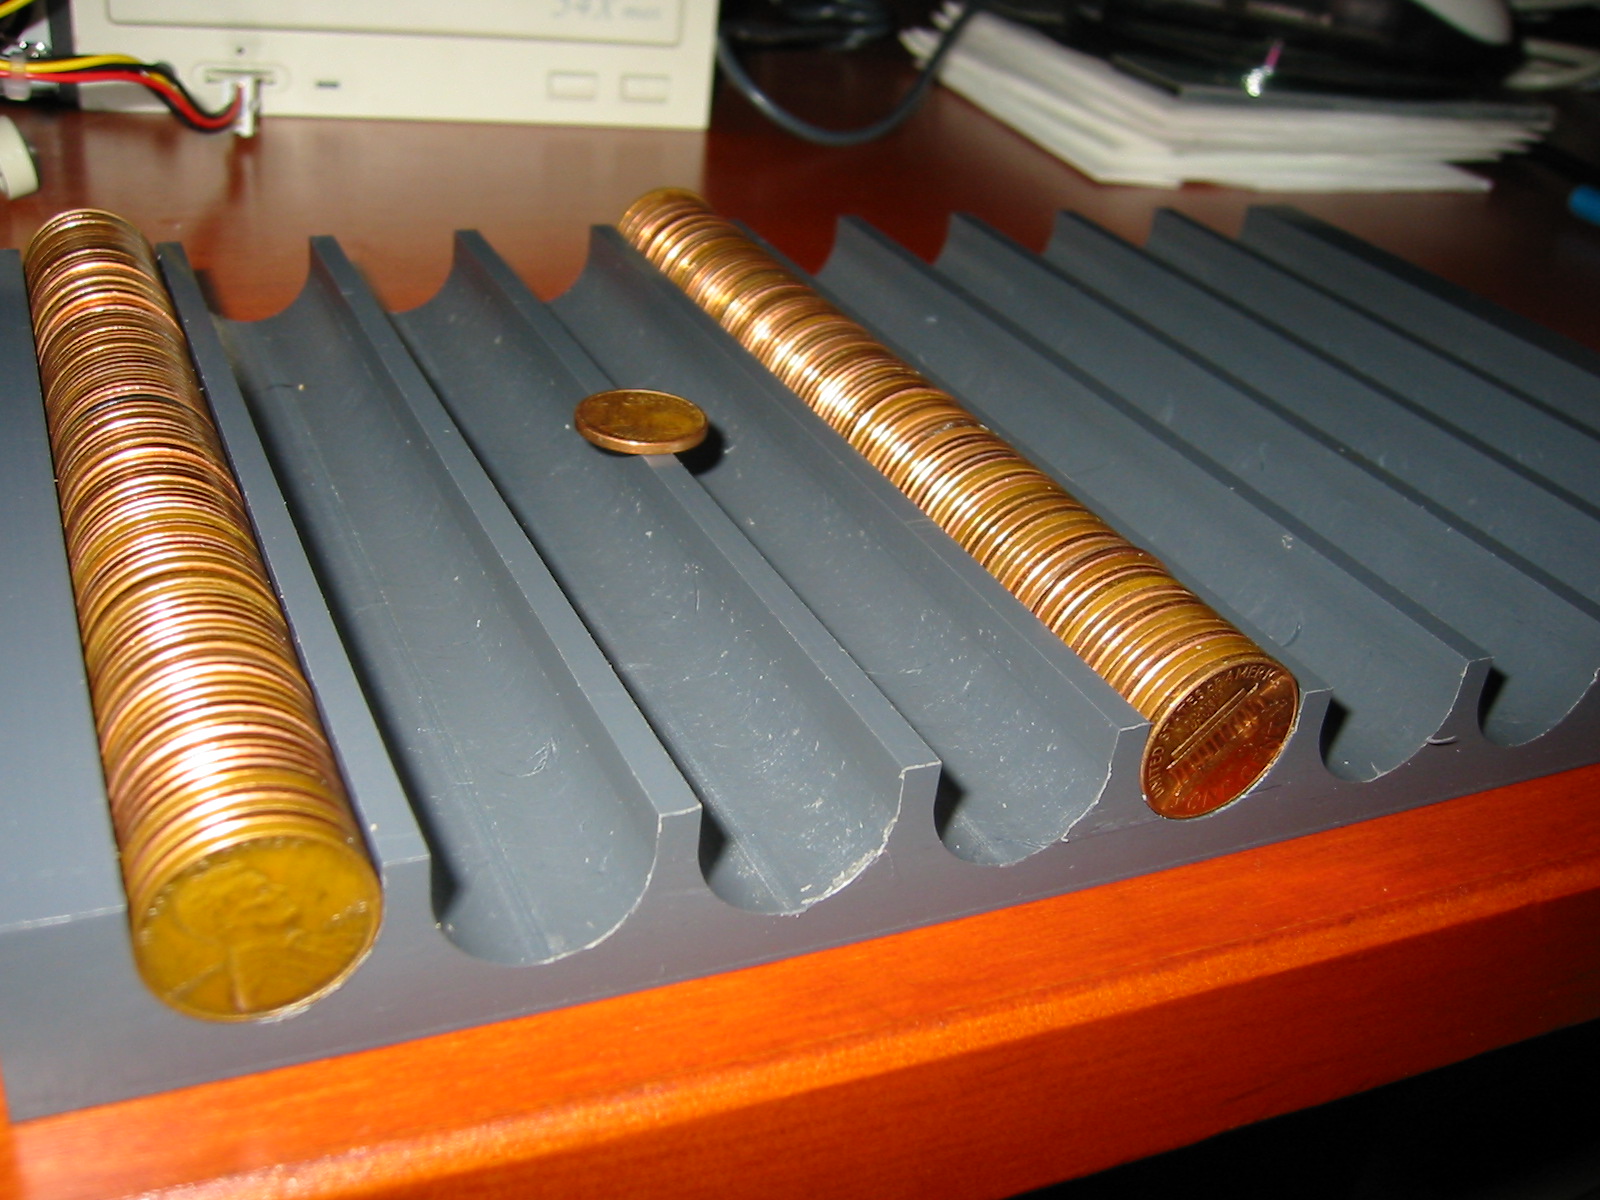
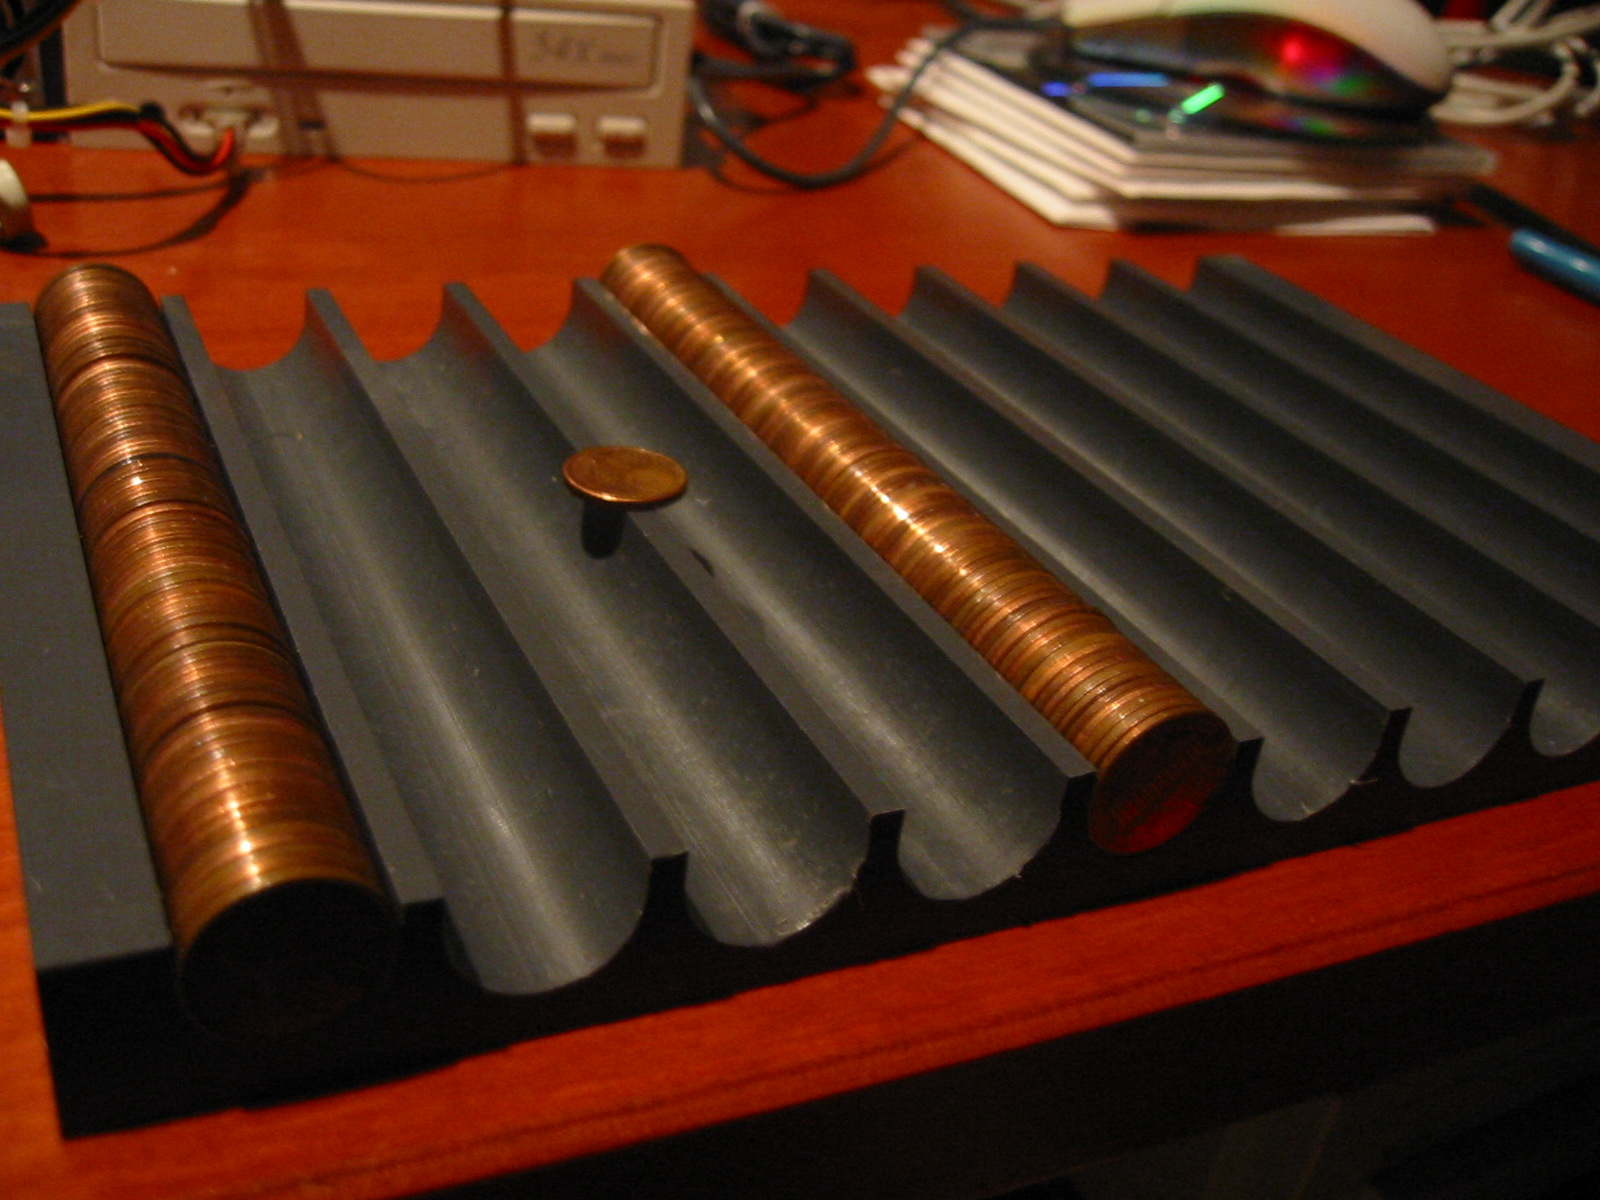
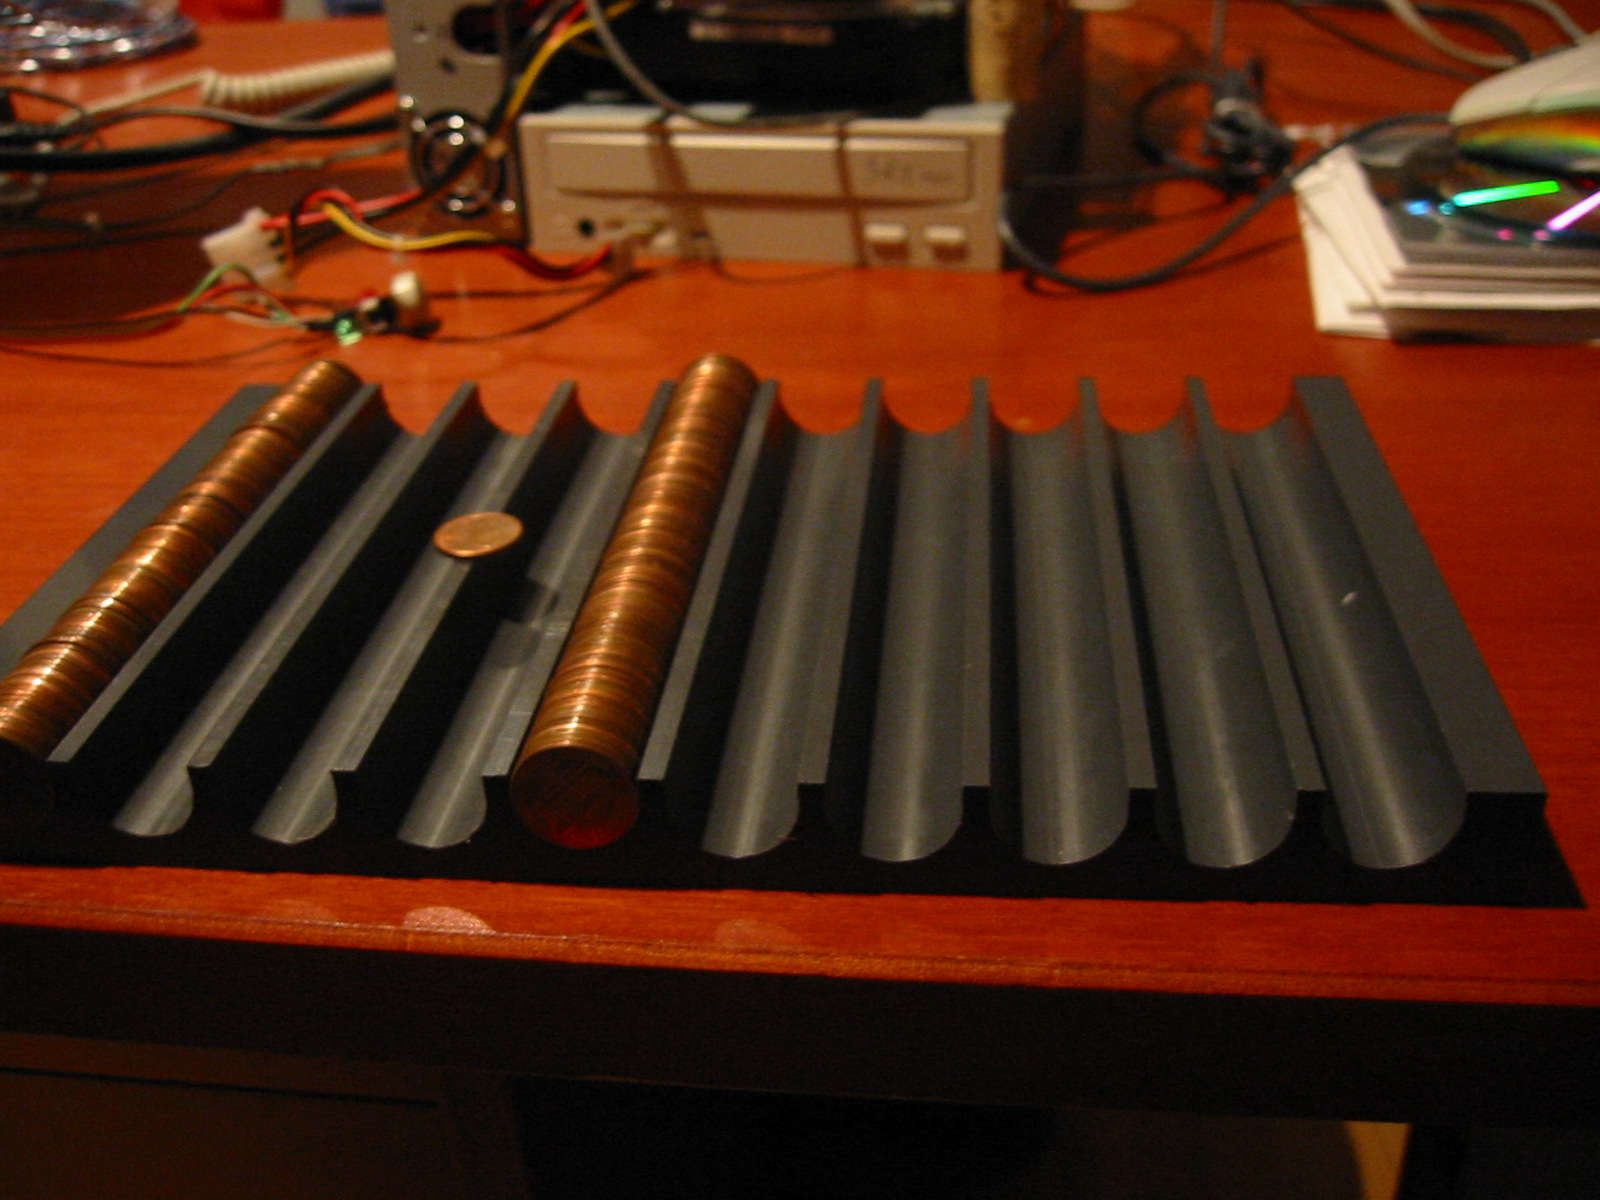
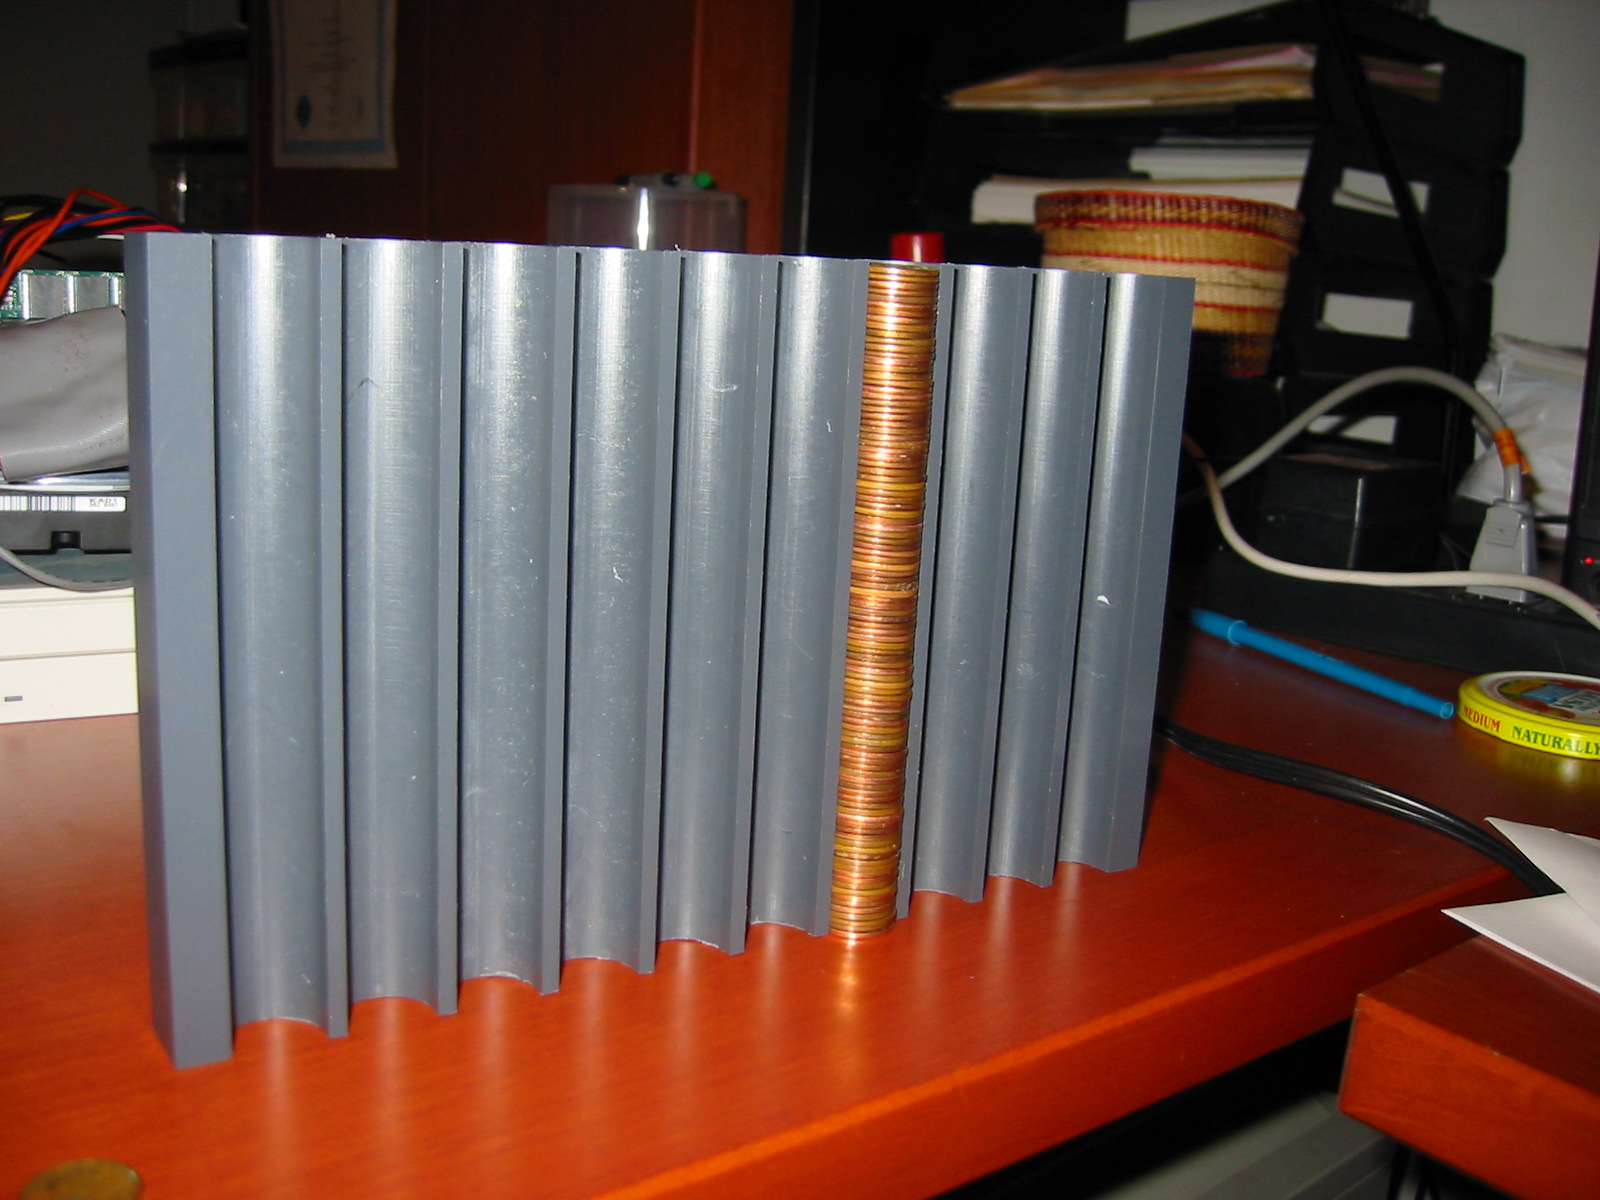
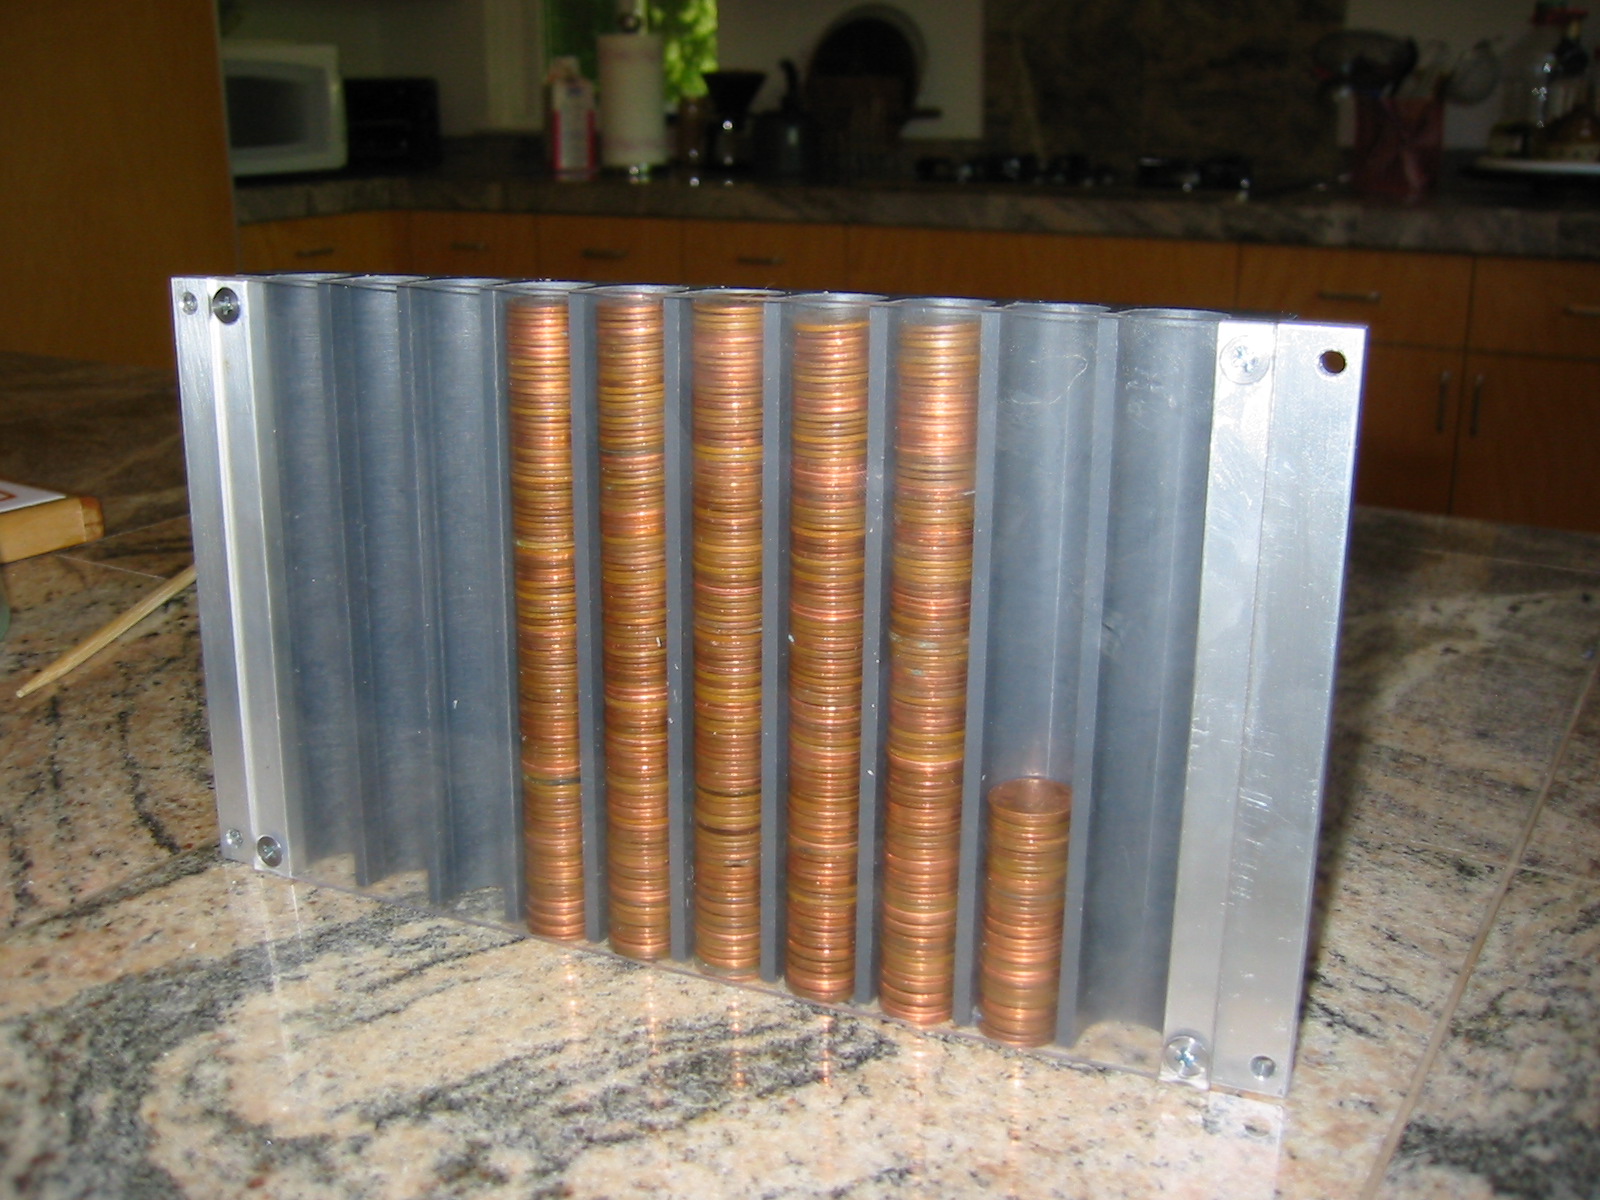
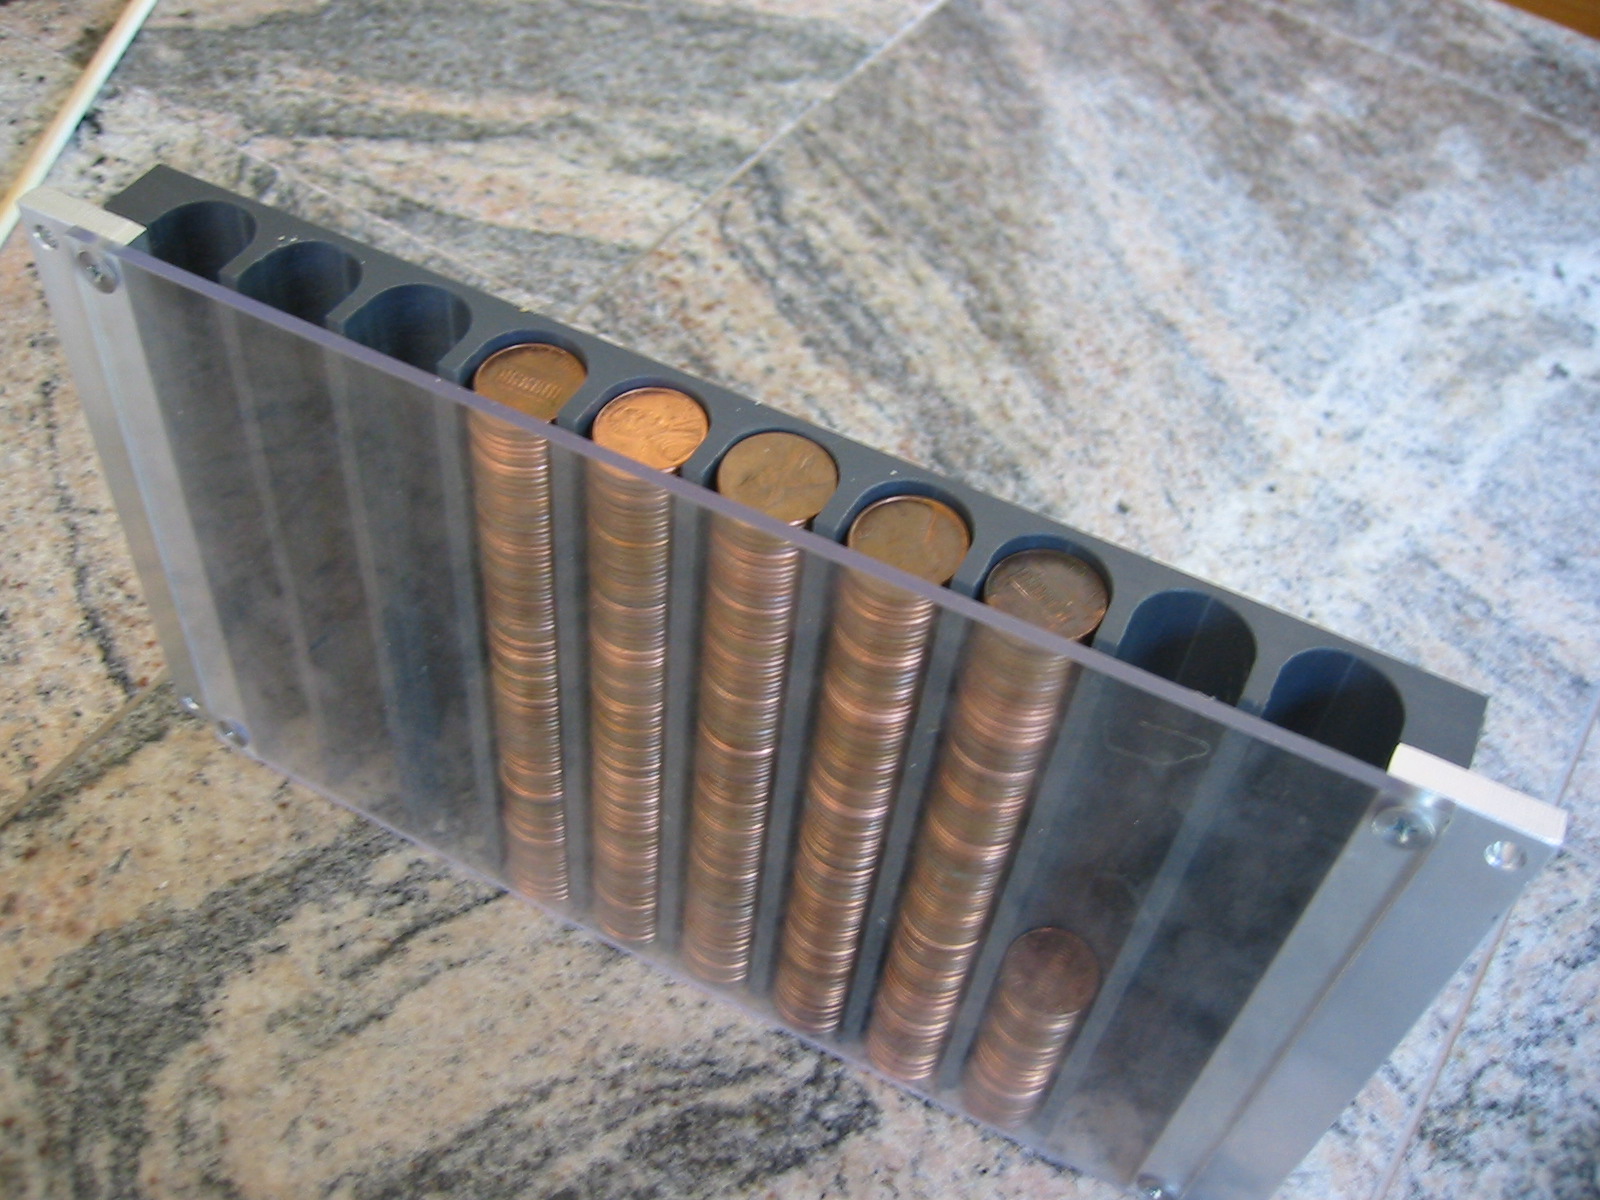
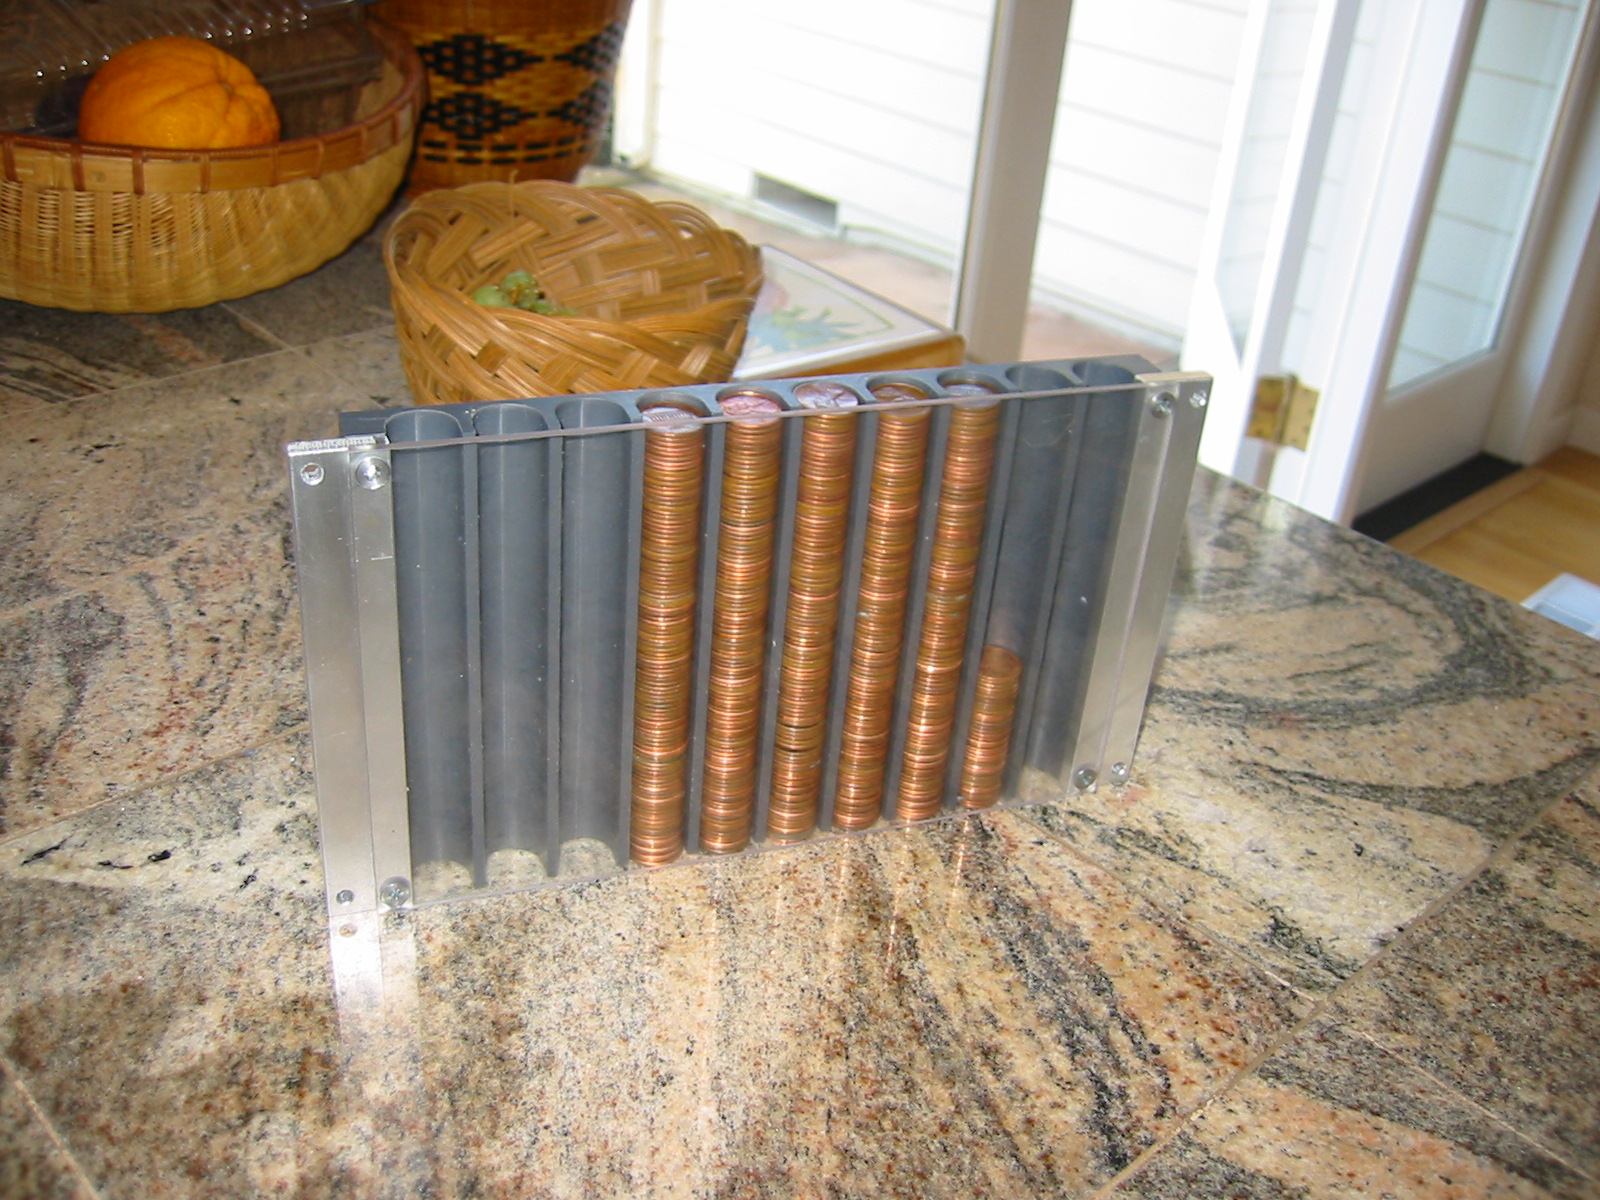
The attached images are of the improved proto. The differences may not be visible. Mostly the grooves are deeper and the transparent cover is closer to the top of the ridges between the grooves. It cannot be any closer because the grooves cannot be made deeper w/o the whole thing becoming too flimsy for our lofty standards, but ideally the cover would touch the ridges or at least be too close for a penny to fit in between (0.0578" or so).
The changes make it possible to load pennies with a minimum of fuss -- with the inestimable help of the chopstick shown in the pictures. It is still possible for a penny to escape and jump grooves (gasp!) but it is not a common event. It was easy enough that I loaded the entire family's penny jar into the module -- $4 and change -- before taking the pictures.
Barbara liked the result so much that she "confined" the pennies by the rather surprising method of scotch-taping the ends.
Working out the grooves very carefully
Comments:
I can up the order by 1, maybe 2, before everything breaks.
Does your office need coasters? I am trying to talk ChefRob's
son into making a four-actuator thingamabob that will drive a steel
ball back and forth through the entire length of channel of one of
them. Not so good to hold a drink, what with the surface tilting a
few degrees in four directions, but a "coaster with 'tude" or a good
conversation piece.
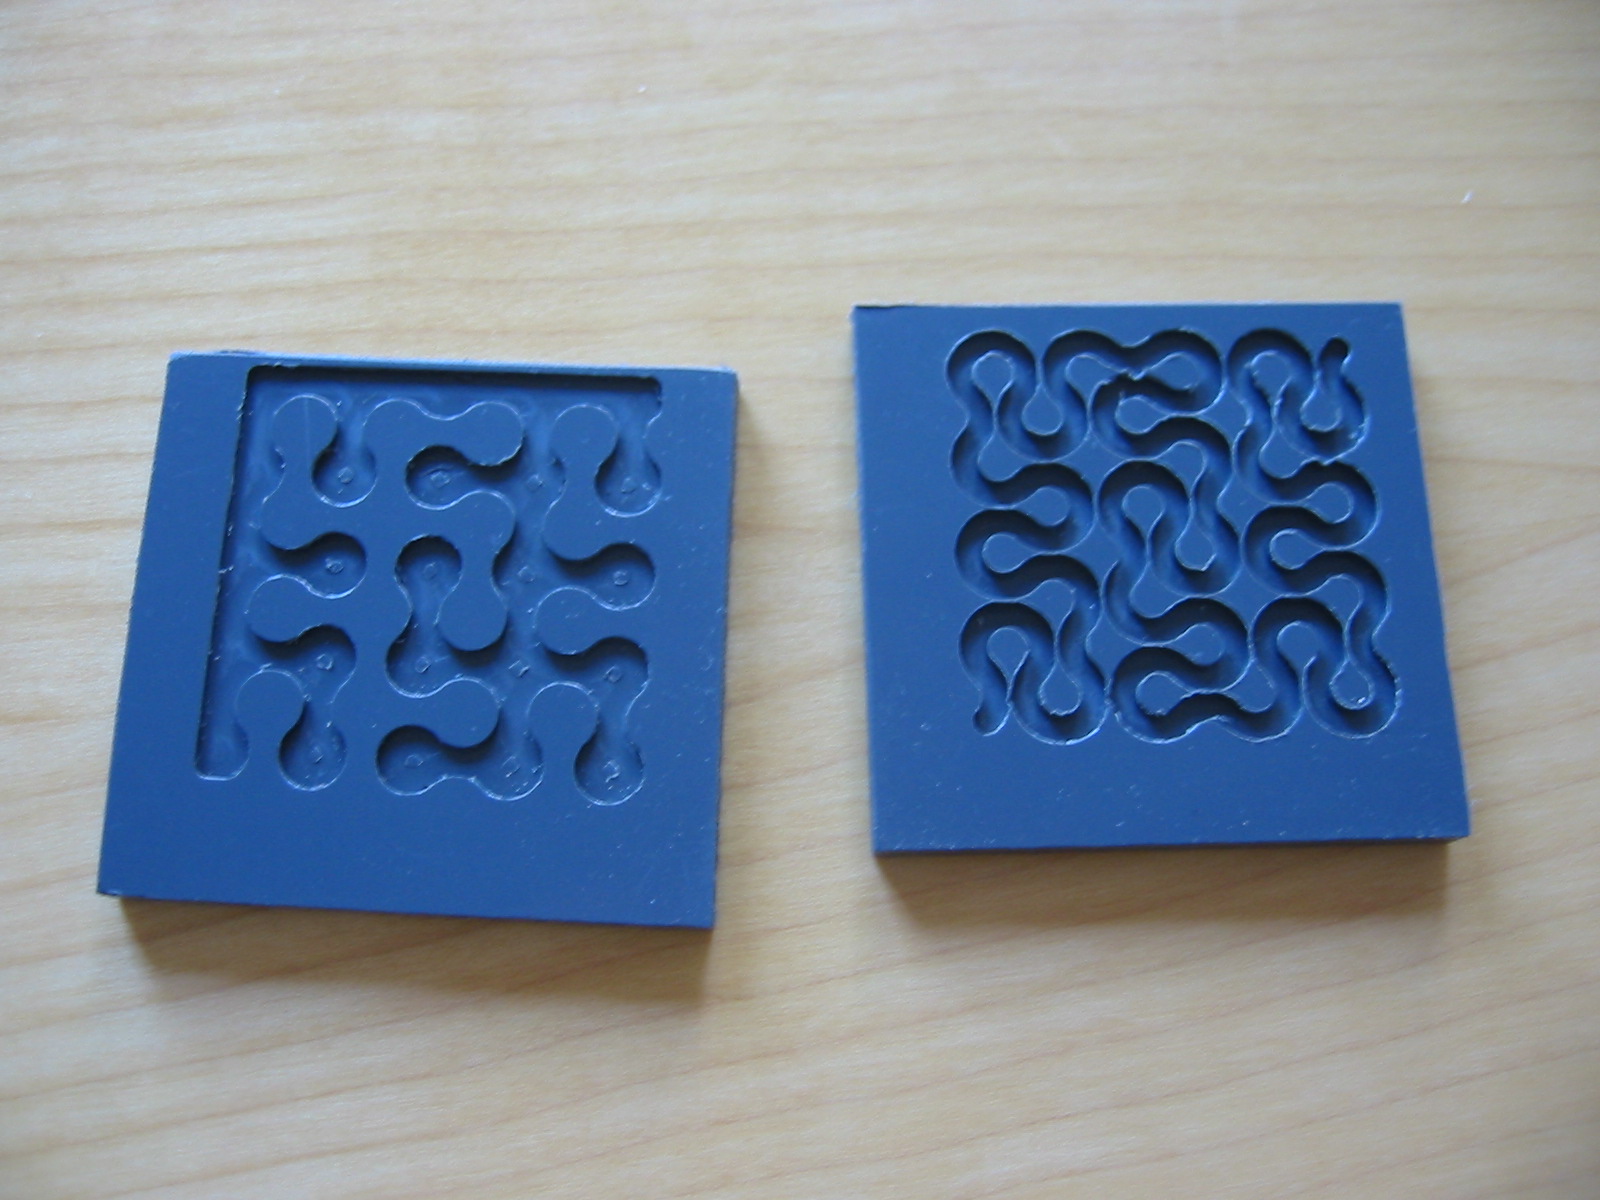
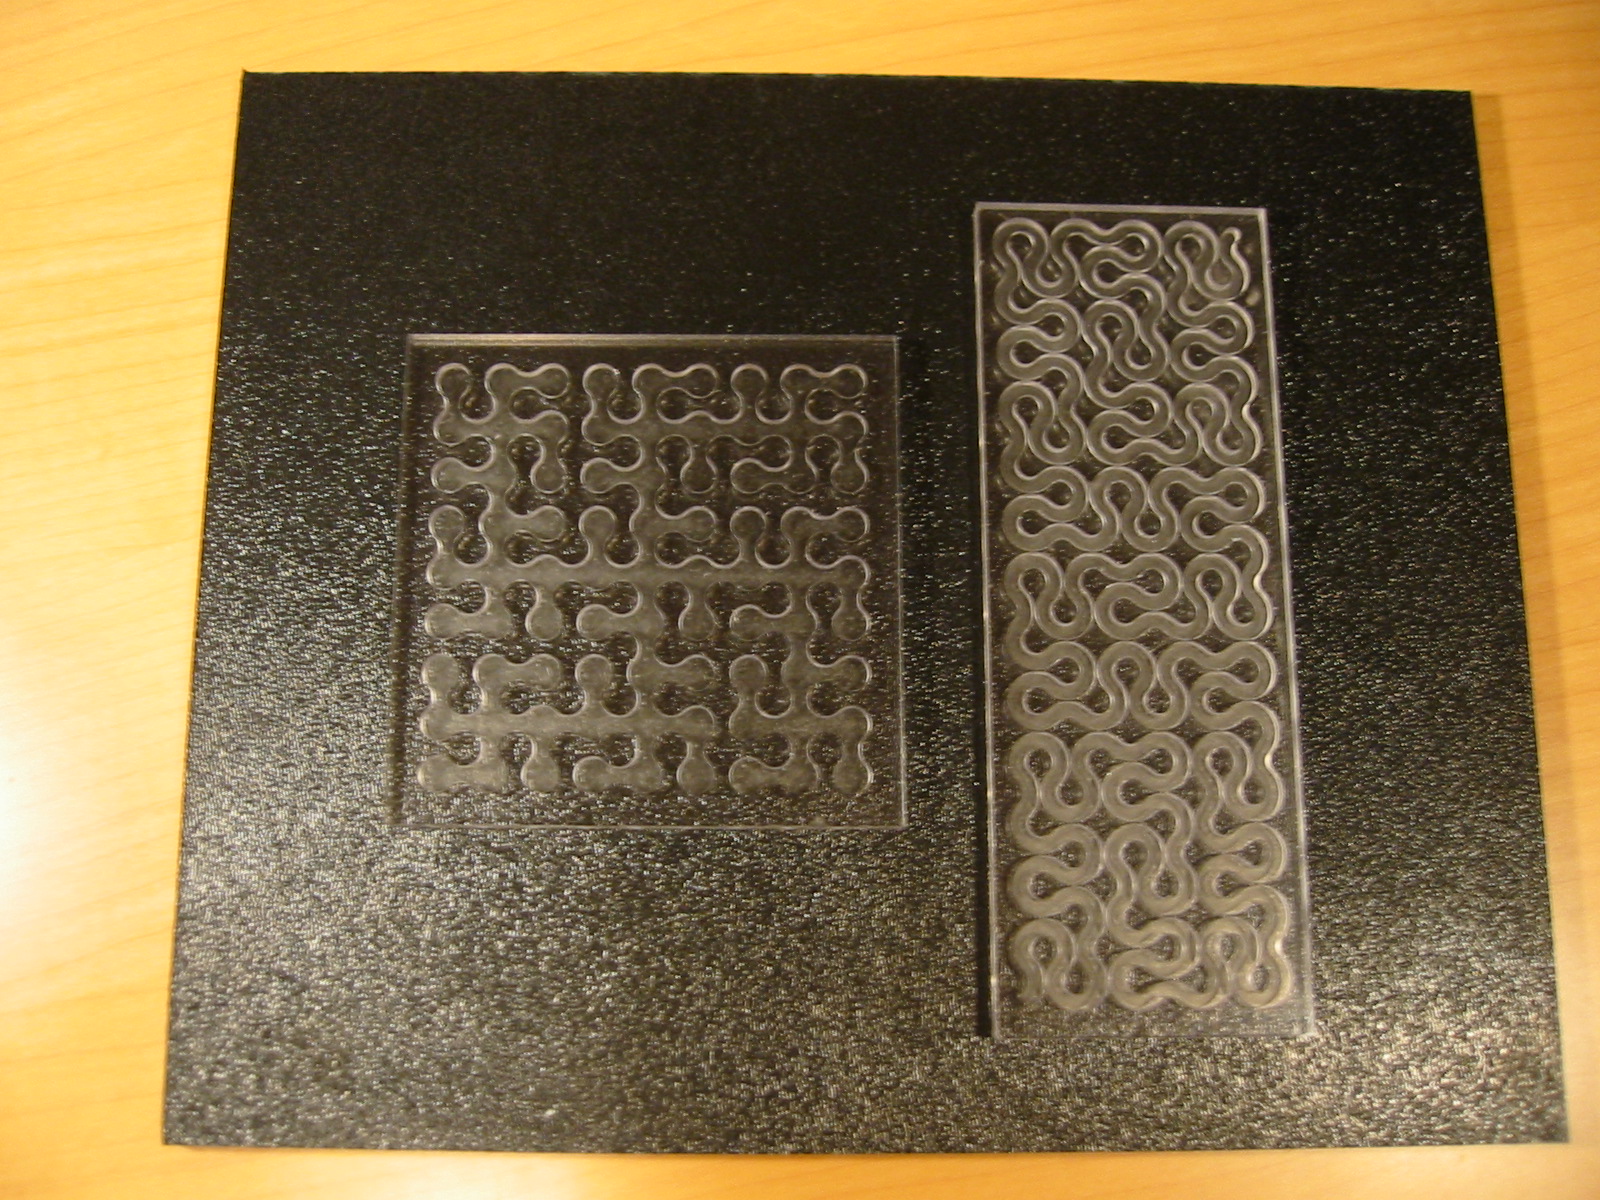
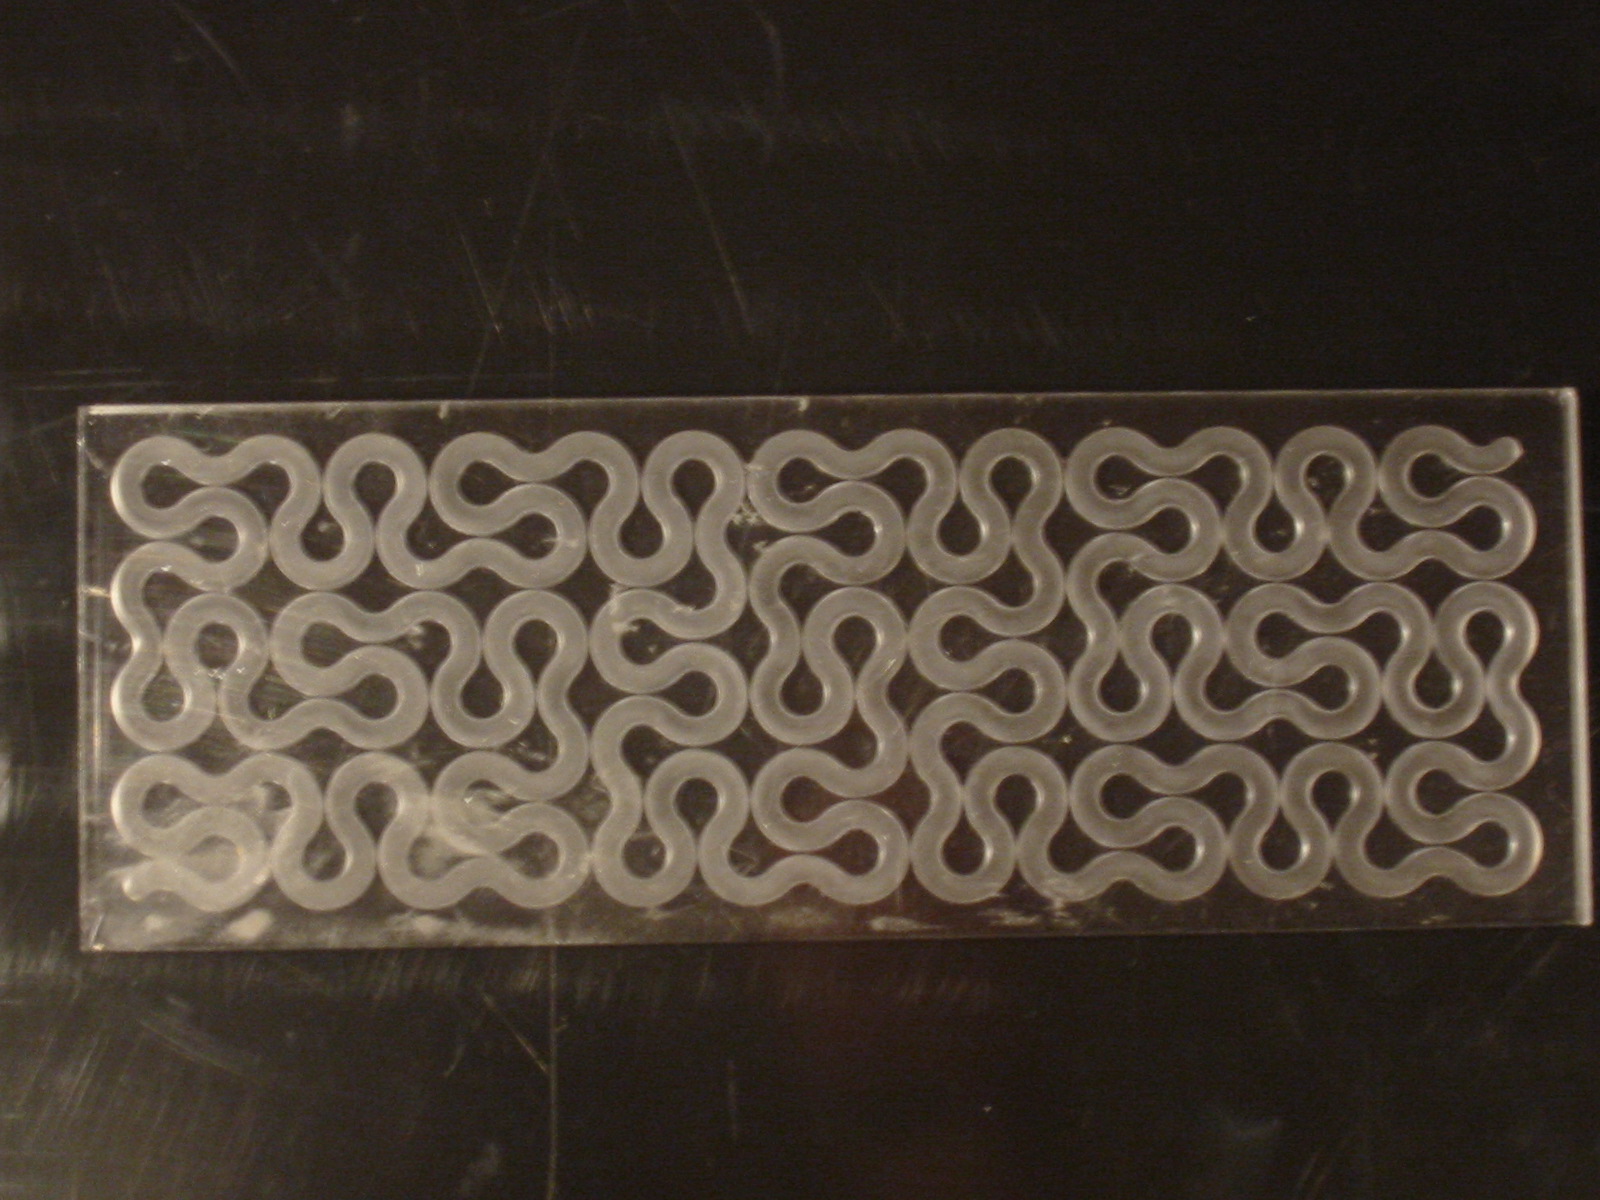
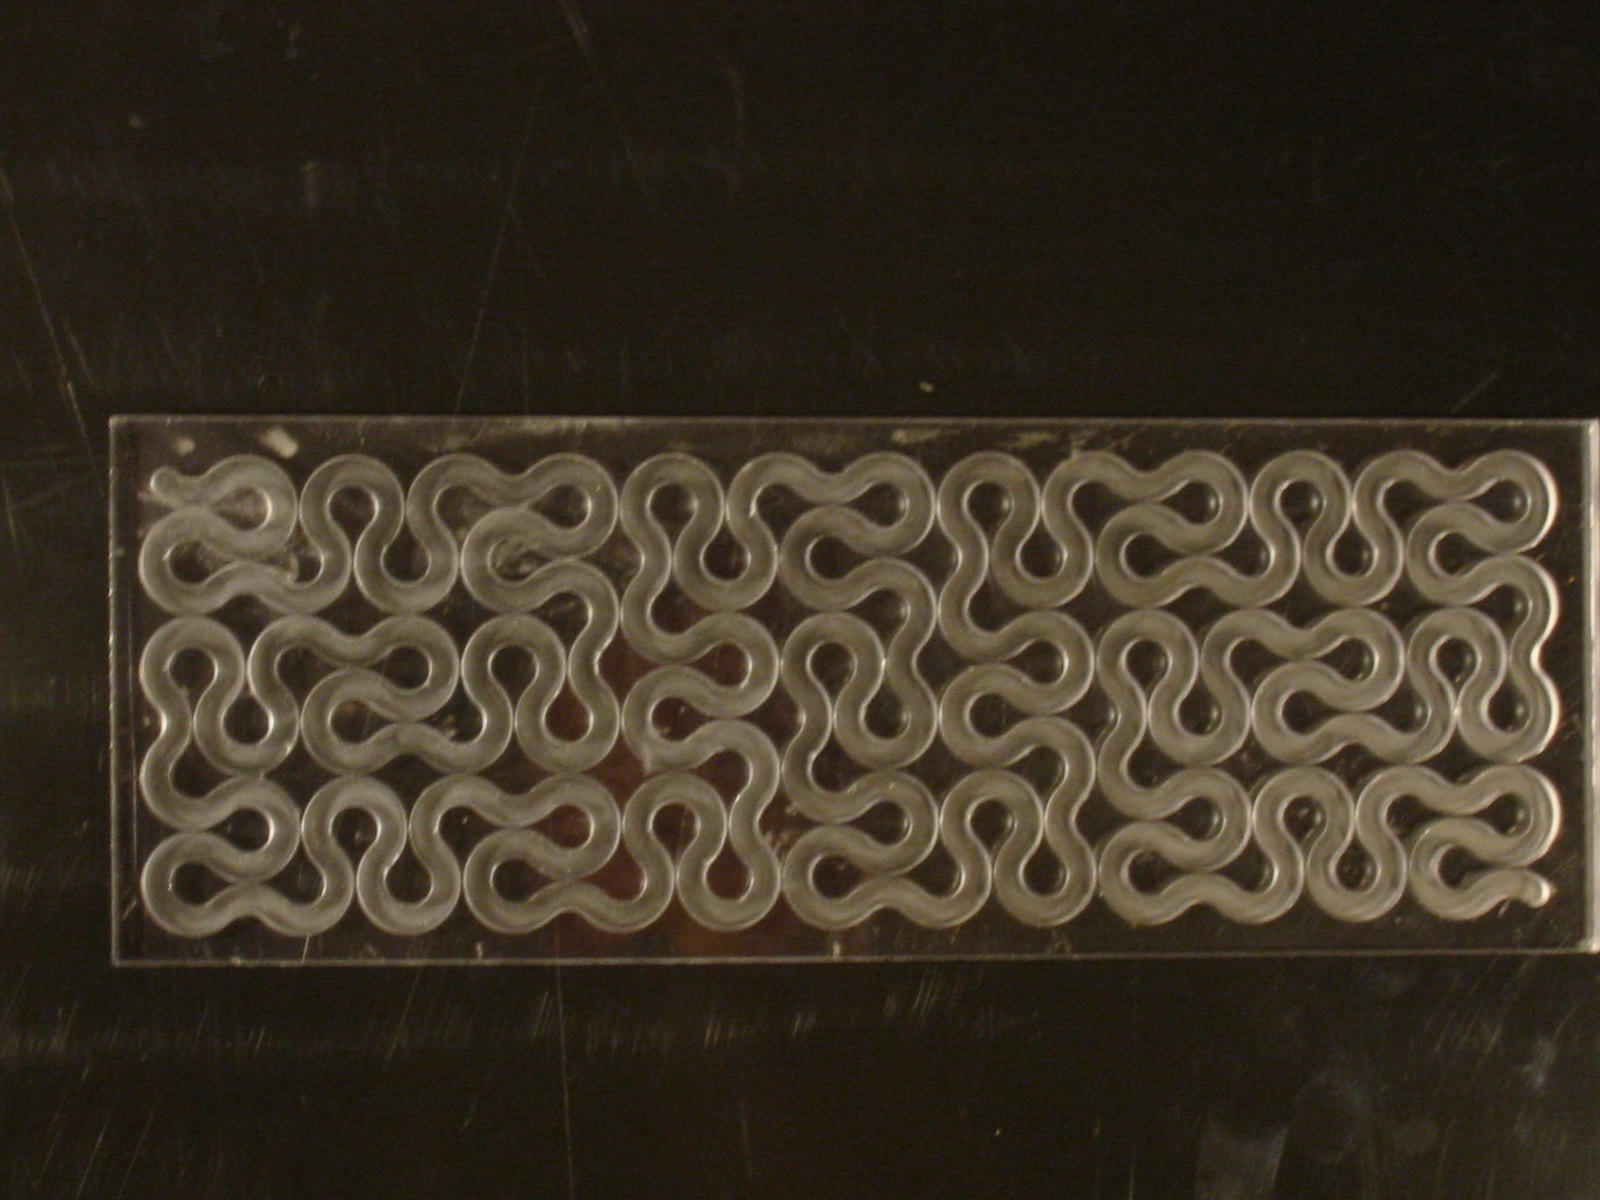
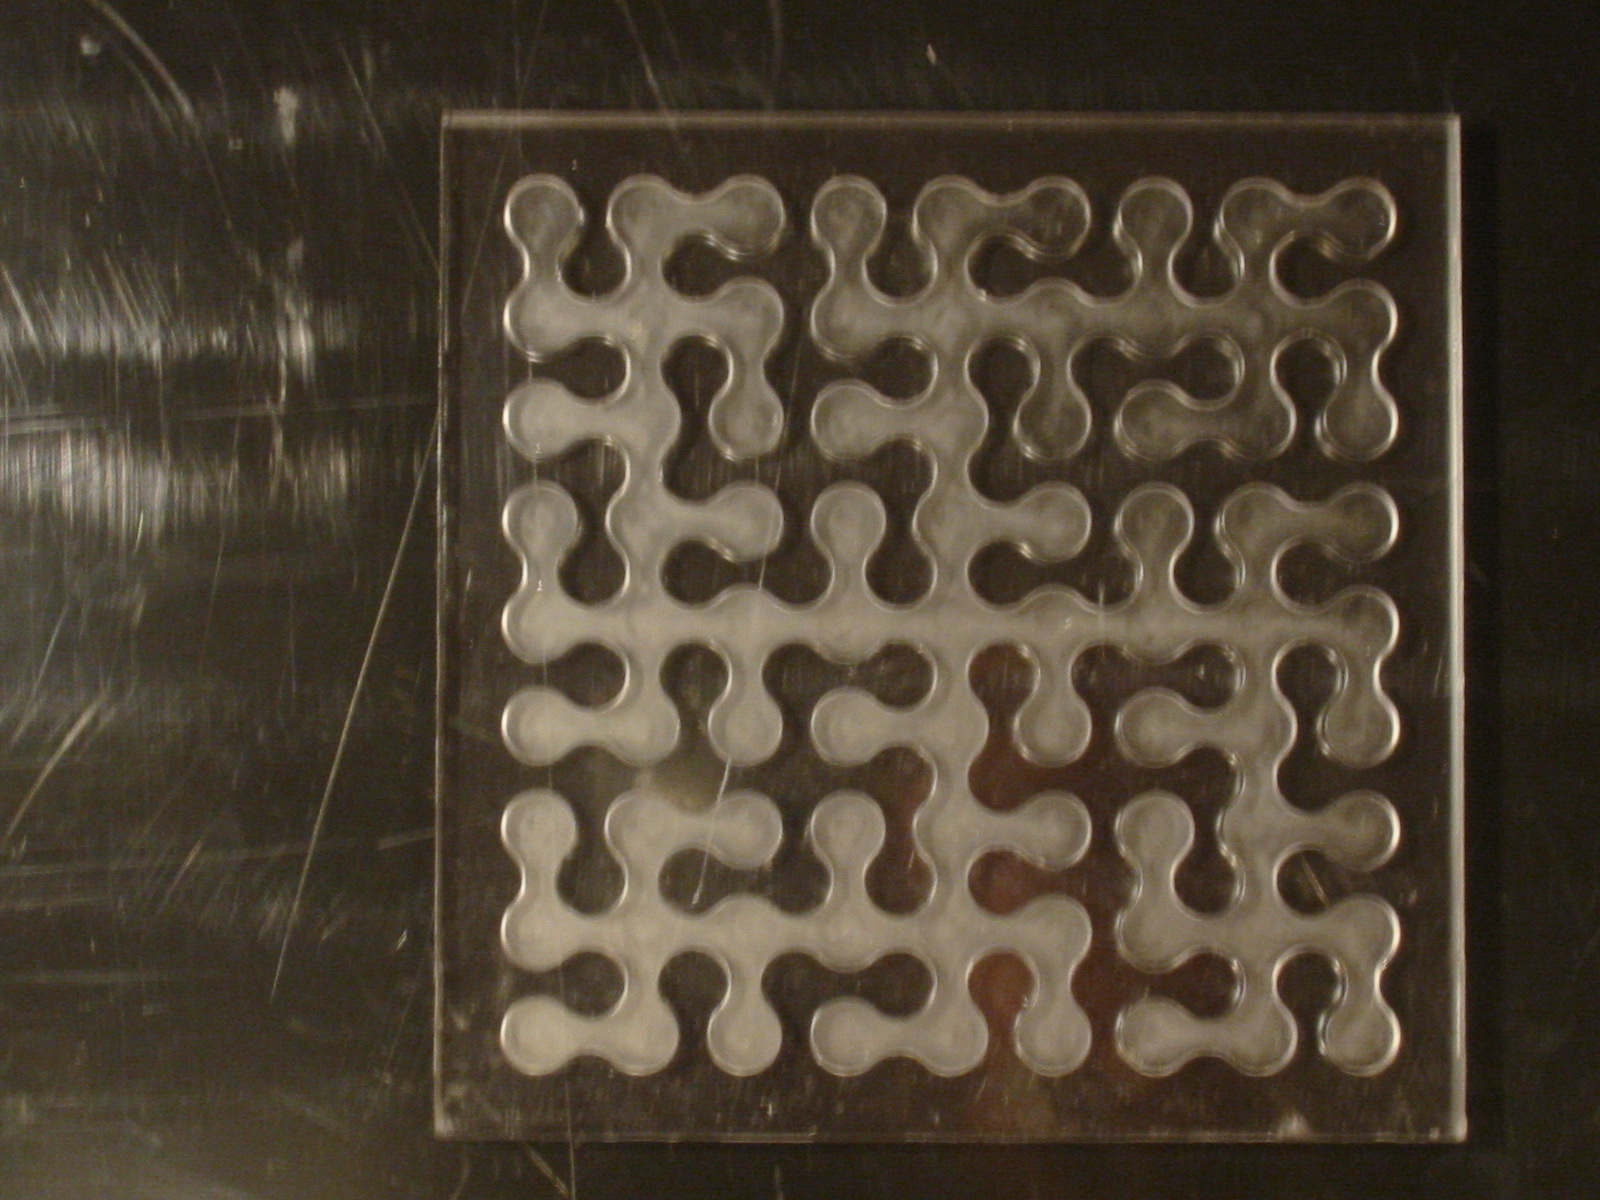
These mudders are hard to photograph...
These were done to perfect the techniques for holding large (inches) sheets of thin (.125" to .25") plastic sheets. I used double sided tape, the kind used by carpet layers, to glue them over a thicker plastic sheet that I held in the vise.
Glenn Northey would have been proud of me except that it took me longer to remuve the gunk from the double sided tape from the finished parts than to machine them.
One of these days I will do something useful. Until then, these are pretty.
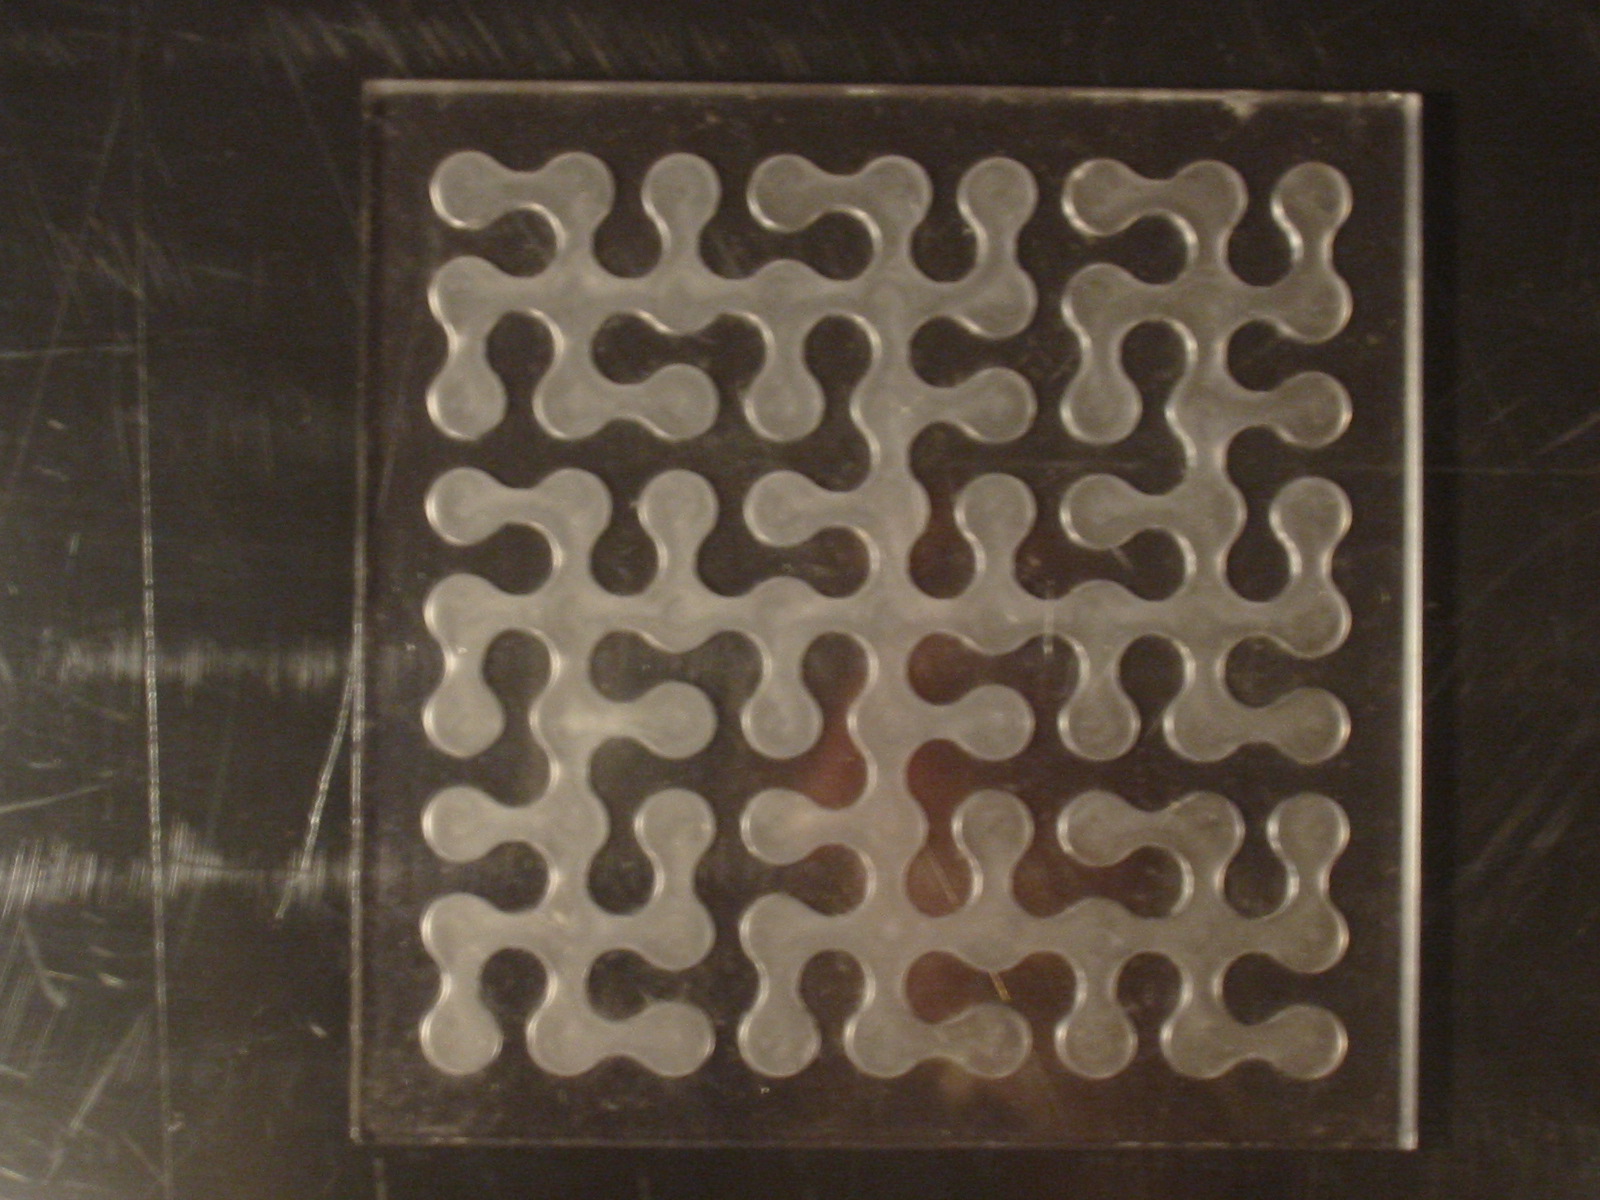
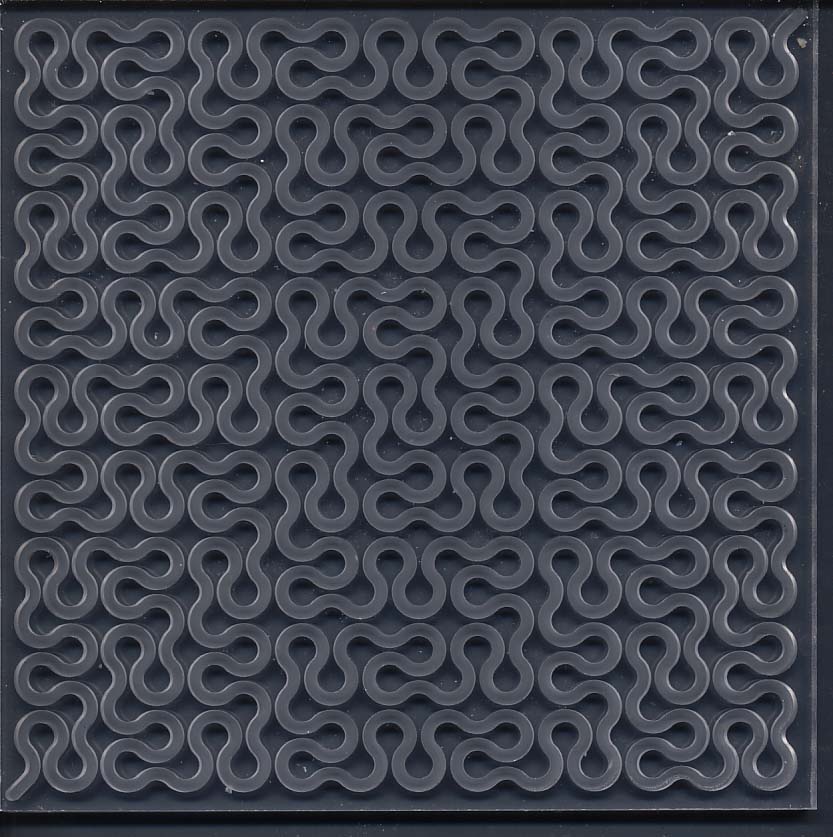
...missing a digital camera, I put my handywork on the
scanner...
I scanned it at 100 dpi, so on a reasonable monitor this should
be life size. If that is not enough data, the groove is 1/8" wide
so that should also give you an idea of scale.
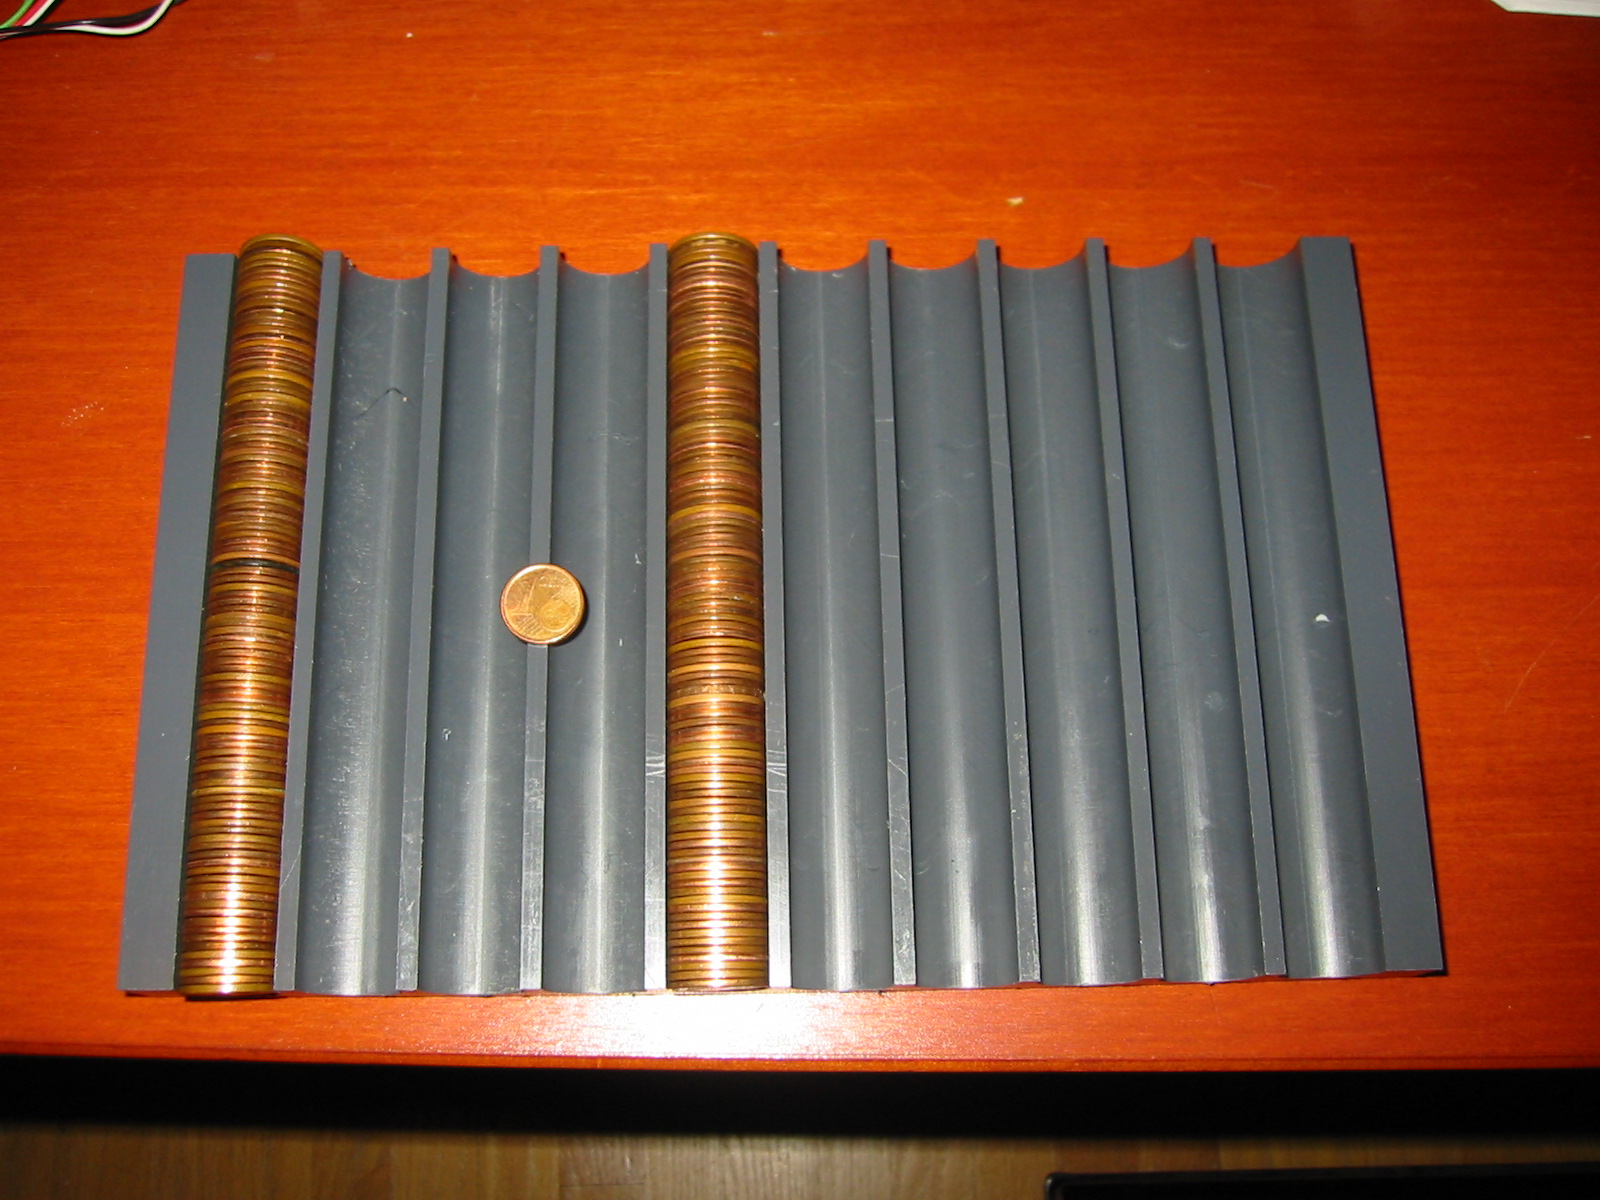
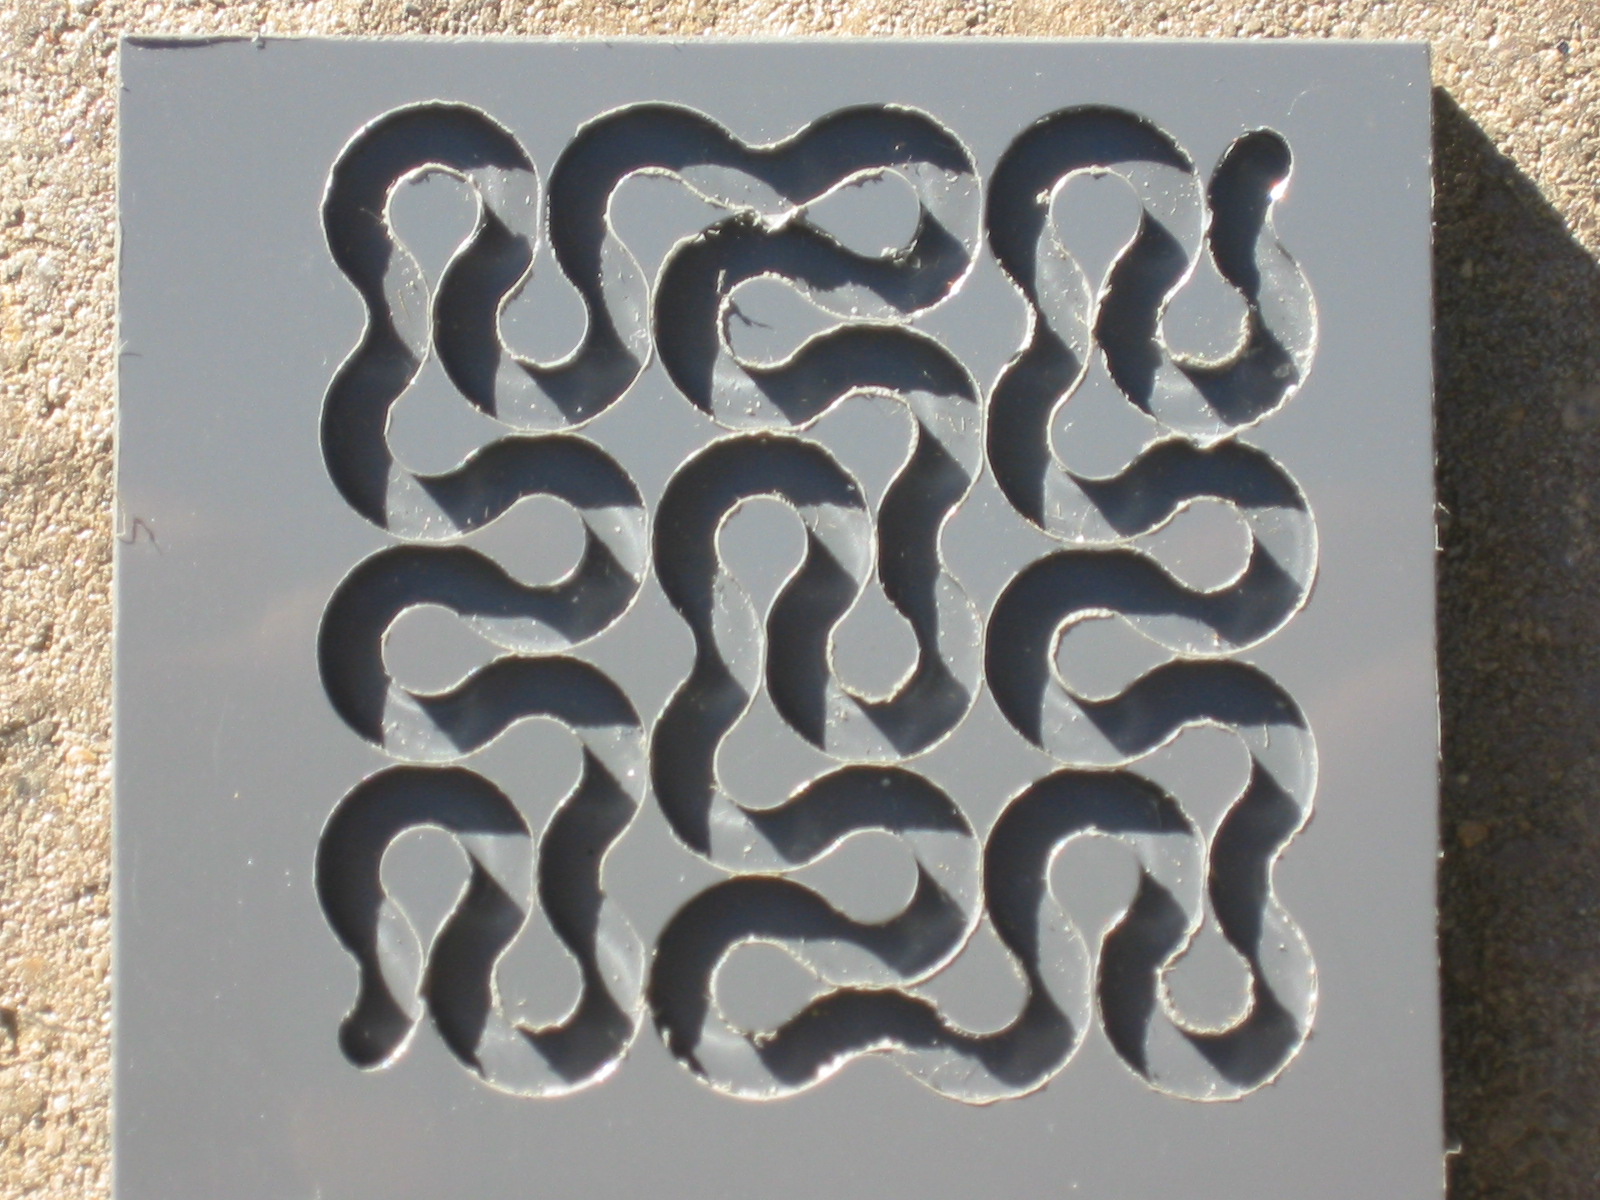
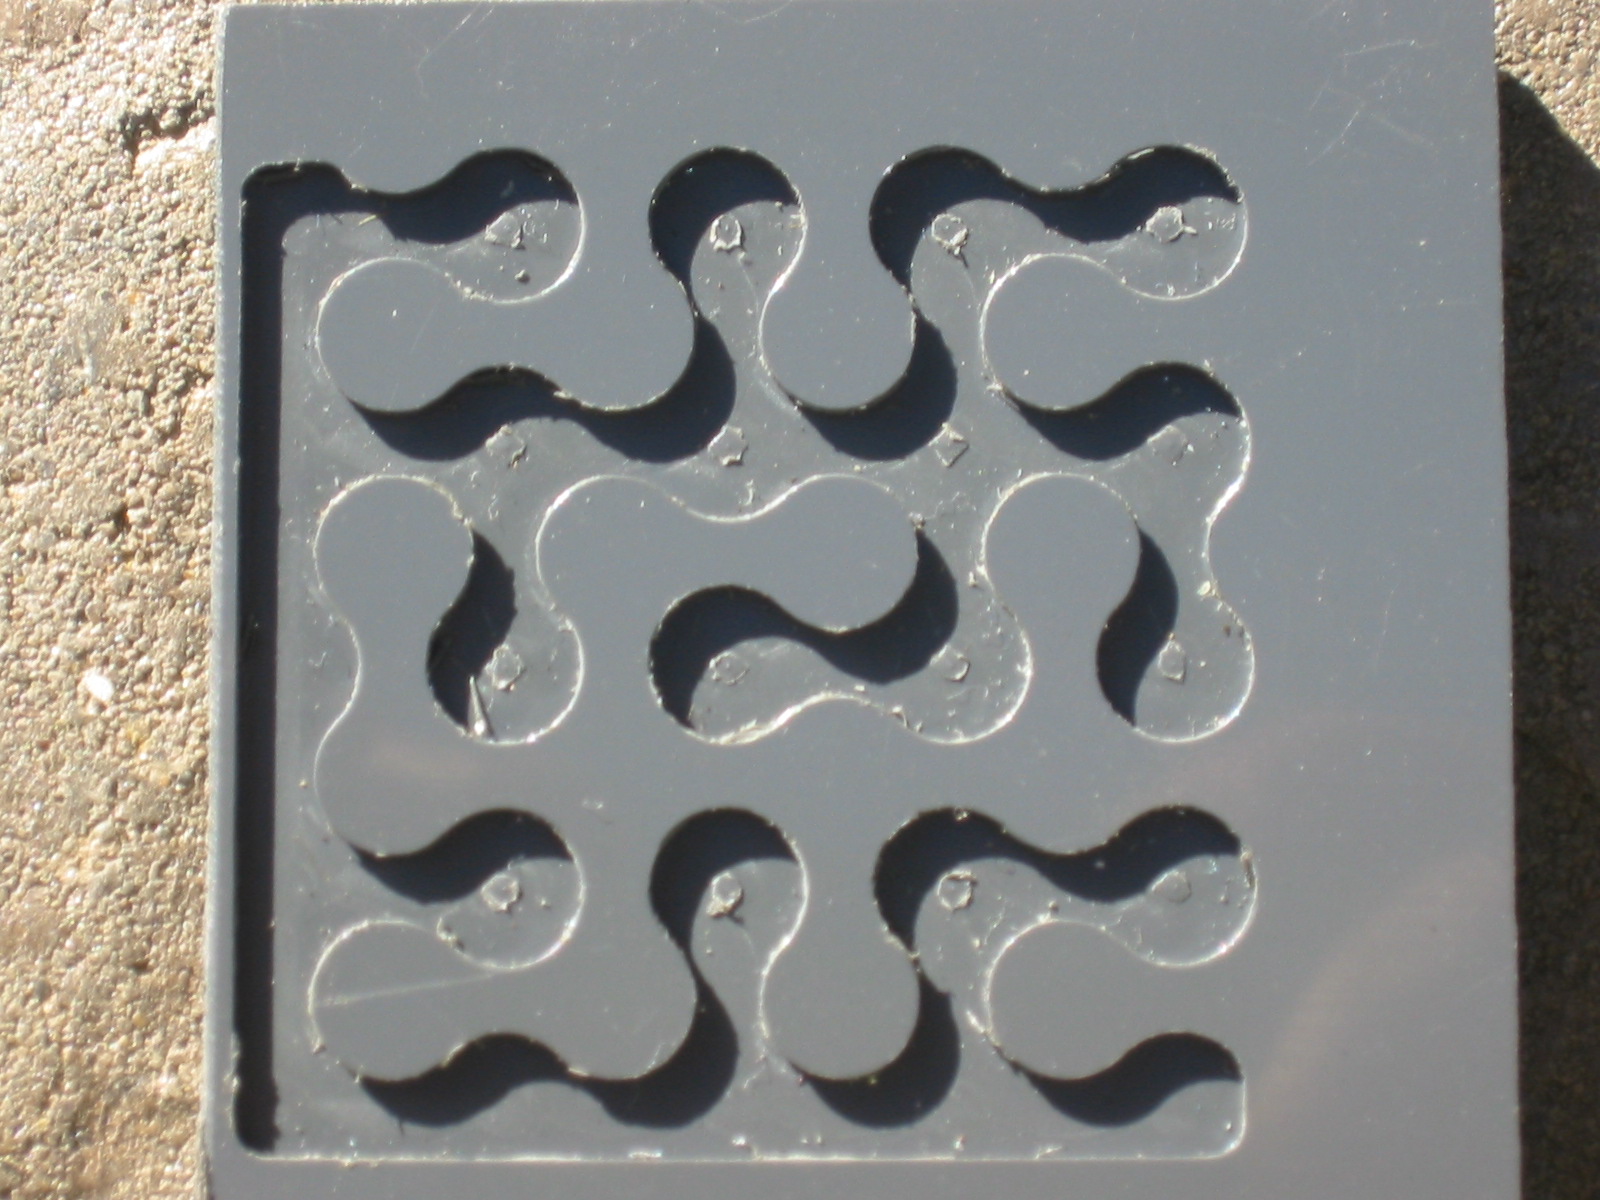
The attached PDF files explain my concept of a family of 4 tiles that can be stitched together to form larger tiles. Depending on how the tiles are attached a few more types may be needed (the fasteners may break some symmetries). The tiles drawn in the PDF files -- drawn to scale with a track of 3/4" width -- use a radius of 1.5 inches for the centerline of the arcs that make up the track. This value of the radius makes the pennies touch on the inside edge of a quarter arc, fill about 80% of the centerline and 60% of the outside edge. (In other words, the pennies in an arc have to "fan out" towards the outside edge and the gap at the center will be about 20% of the thickness of a penny and at the outside edge about 40%; how the pennies like this fanning out arrangement is to be determined.) A larger radius would ameliorate the problem (if any) but make the efficiency (pennies per square inch) lower -- and it is alreadu low enough. The side of the tiles is 3*radius*sqrt(2) or somewhere between 6 and 6.5 inches for the 1.5 inch radius.
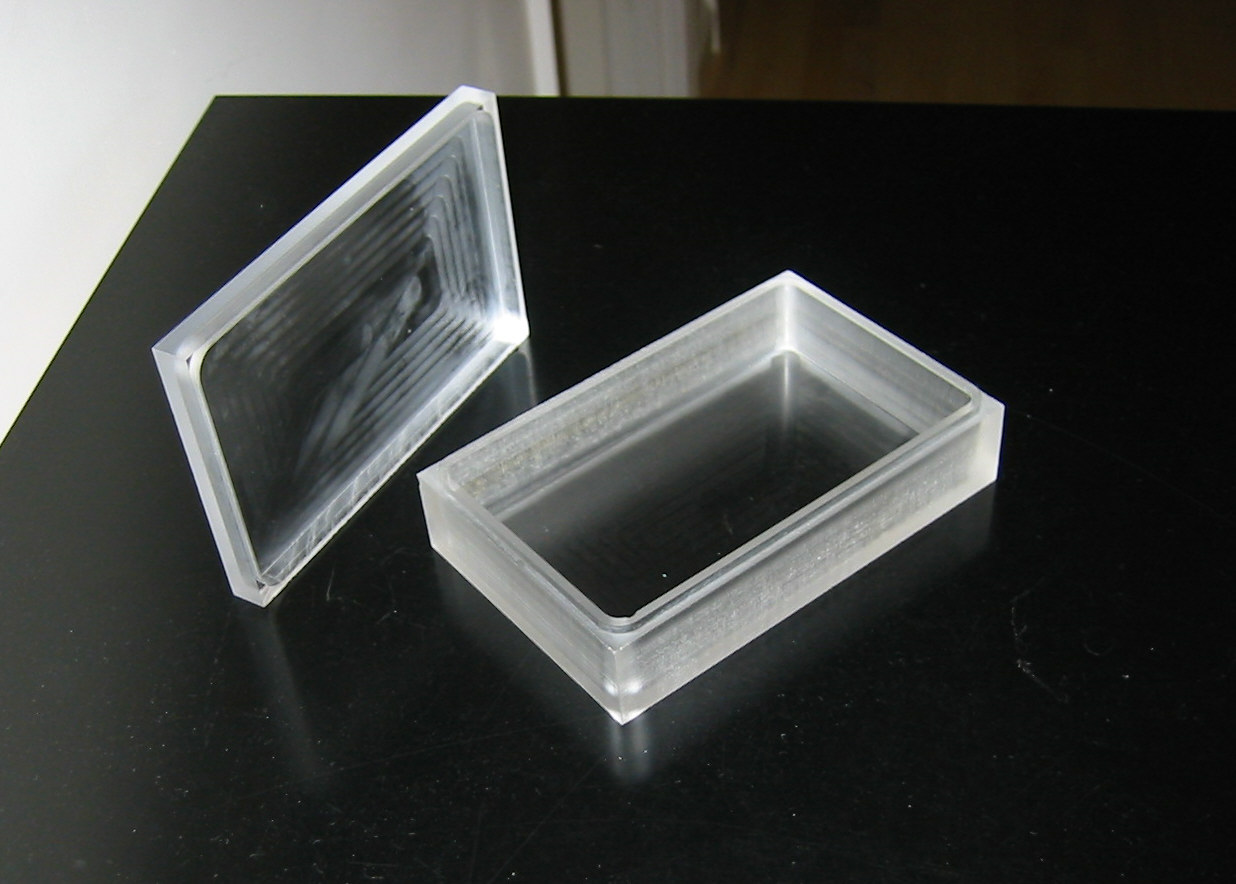
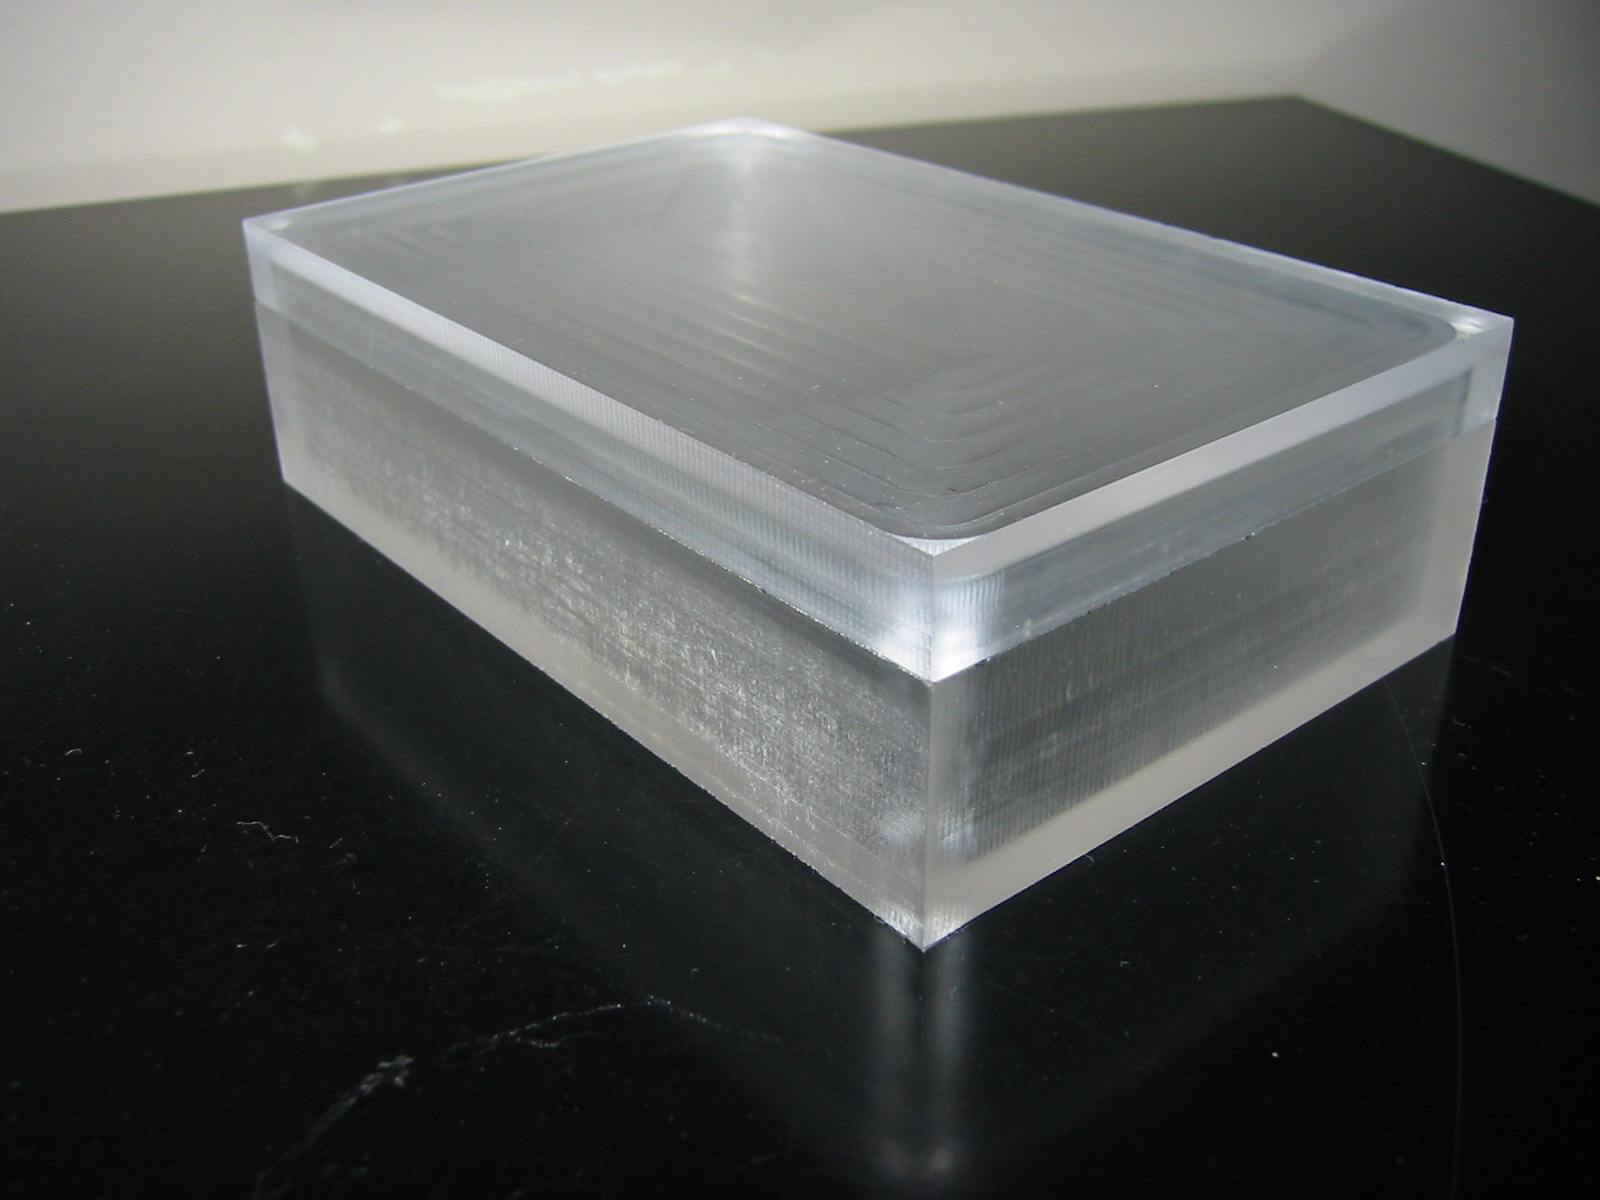
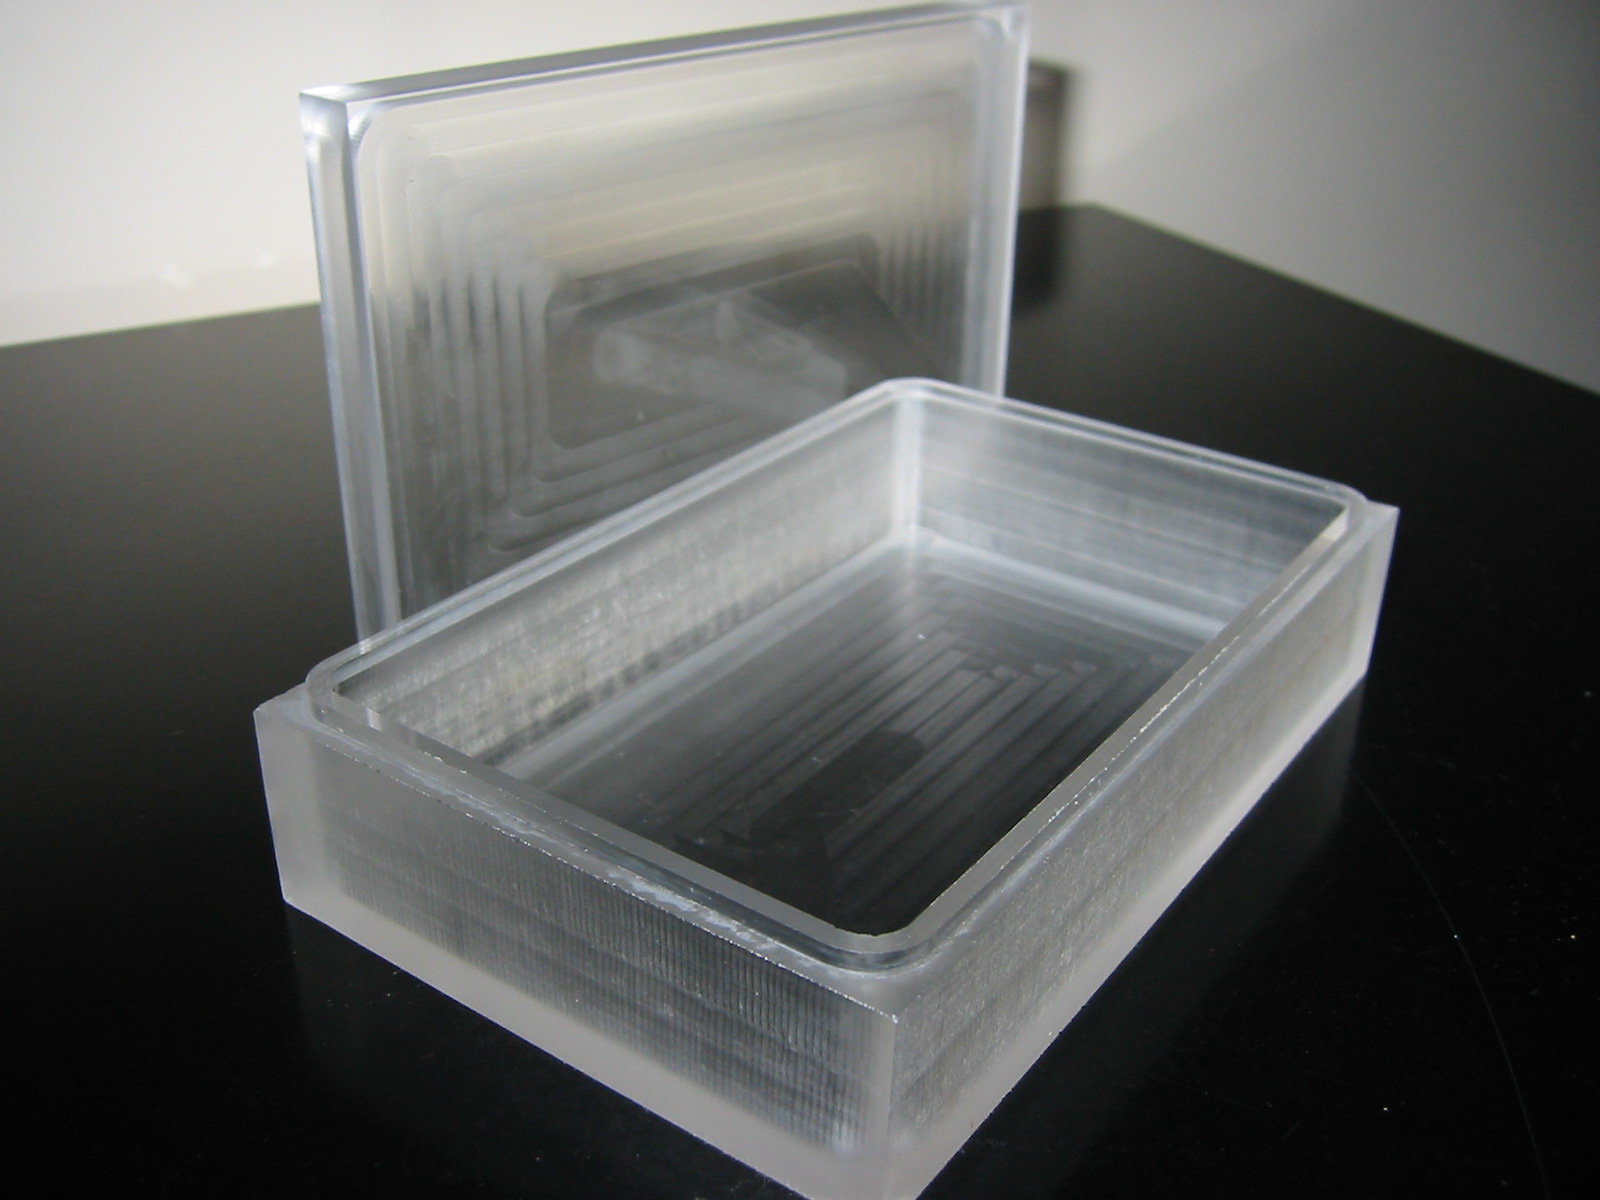
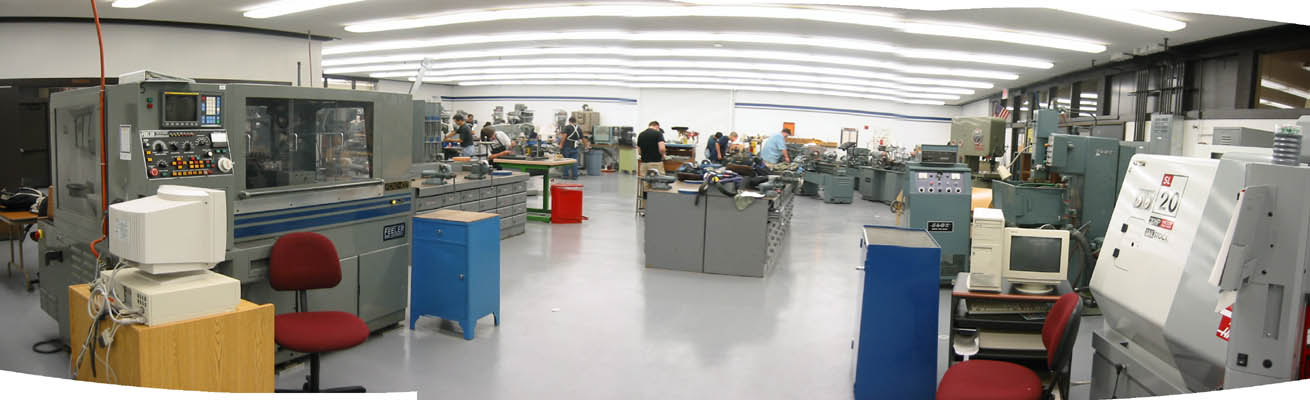
Rob and I made some chips. Not as many as we thought we would,
but some nice ones. The lid for the box (dull cutter) was a mixture,
although it proved that the CNC code I generate from Java is
pretty good. We did not have time to do the body of the box
and we left it sitting on the machine until Wednesday.
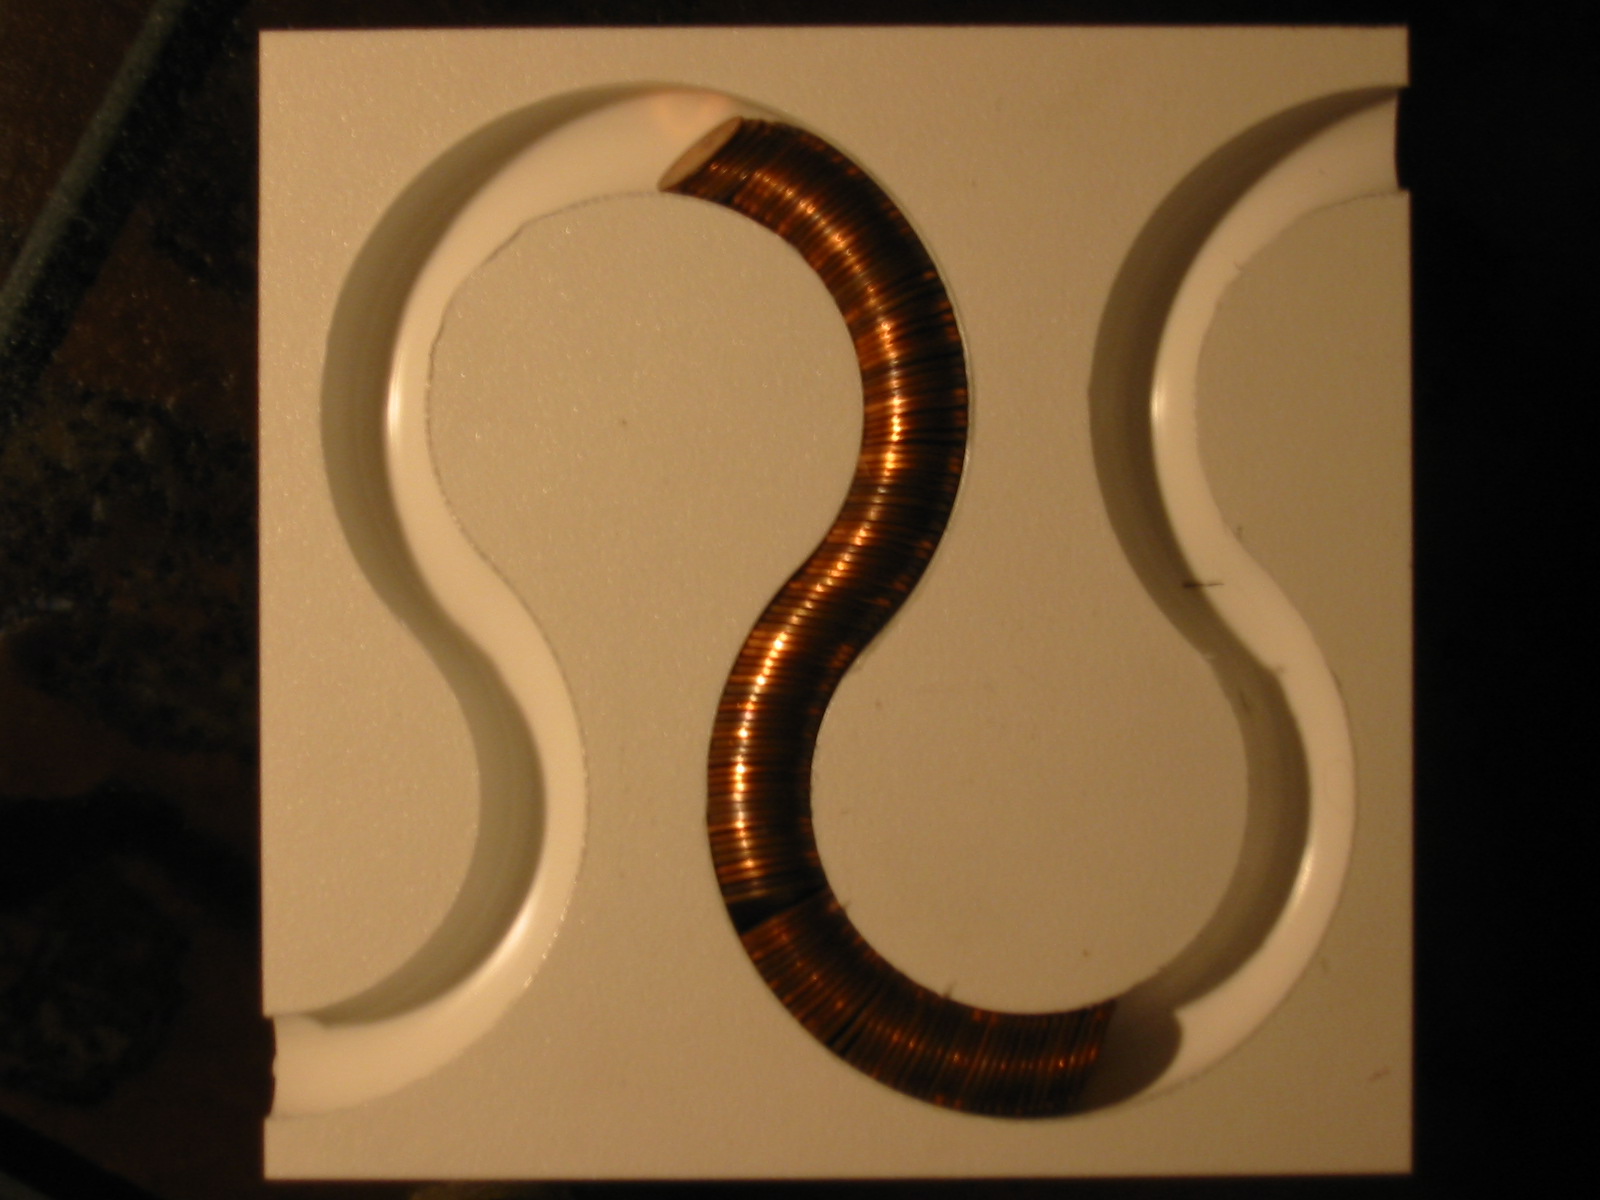
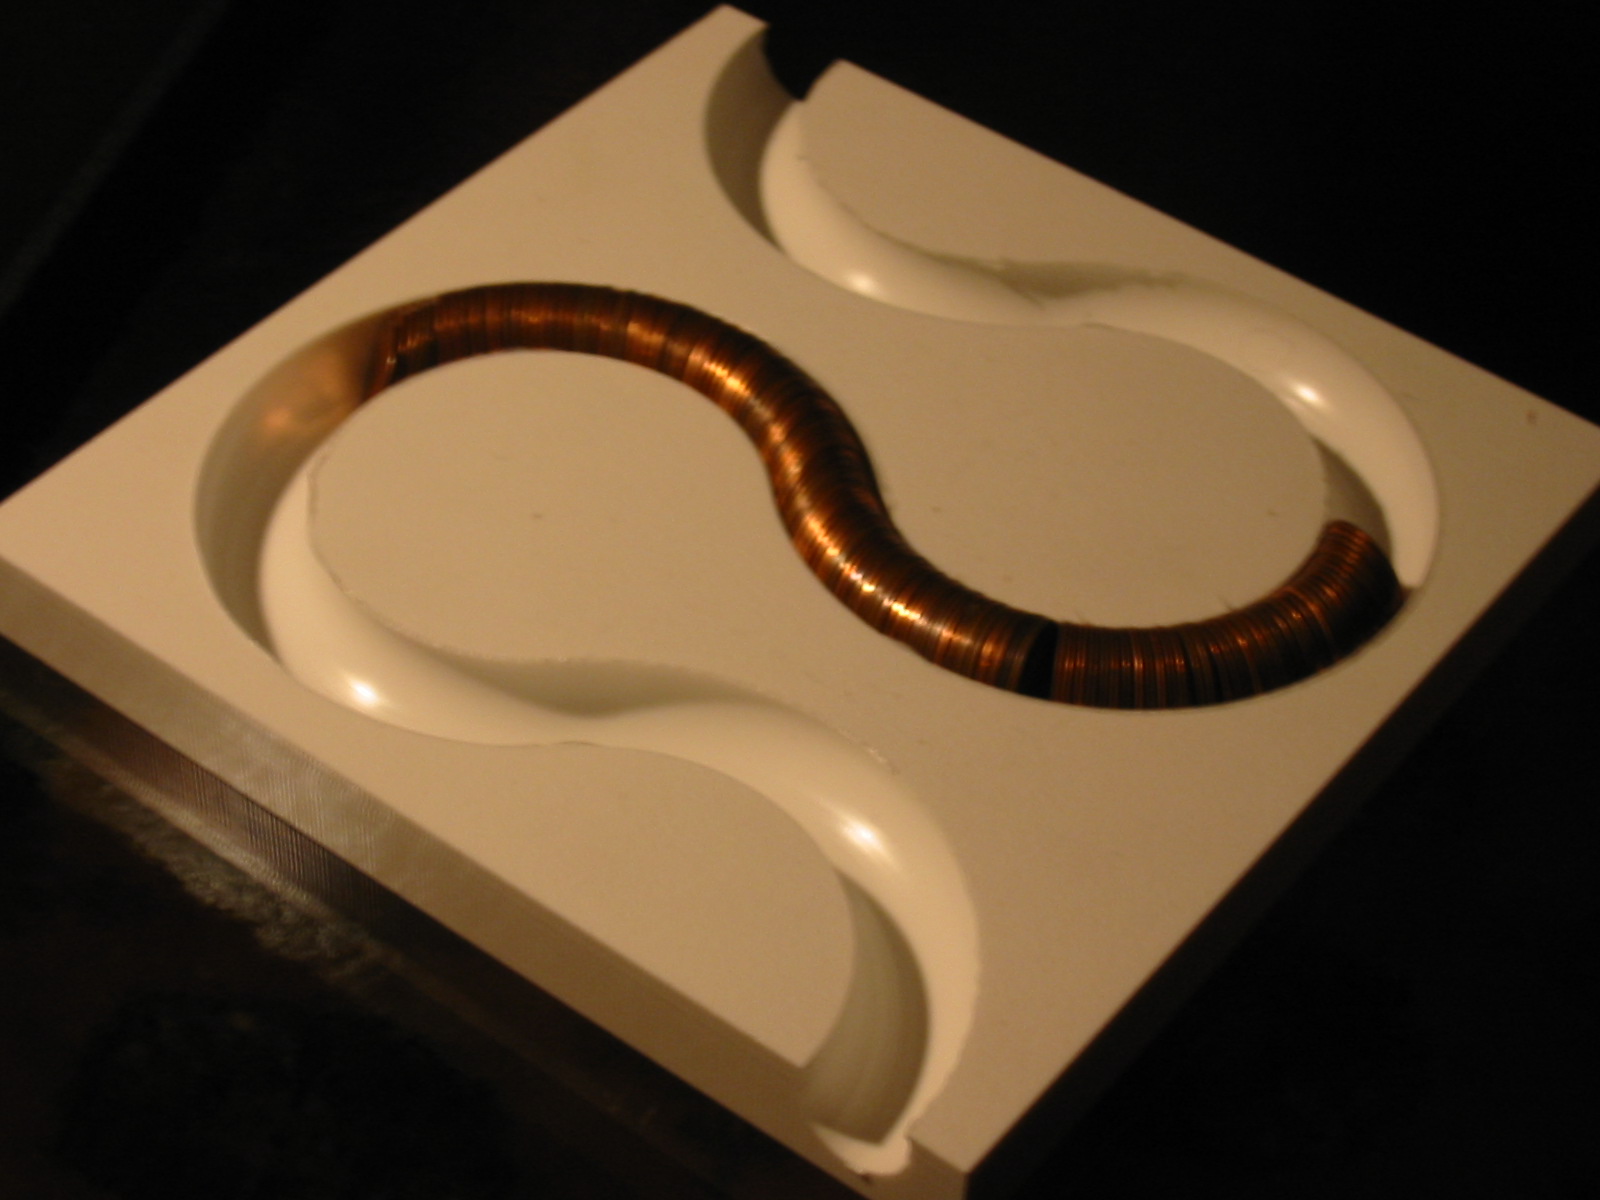
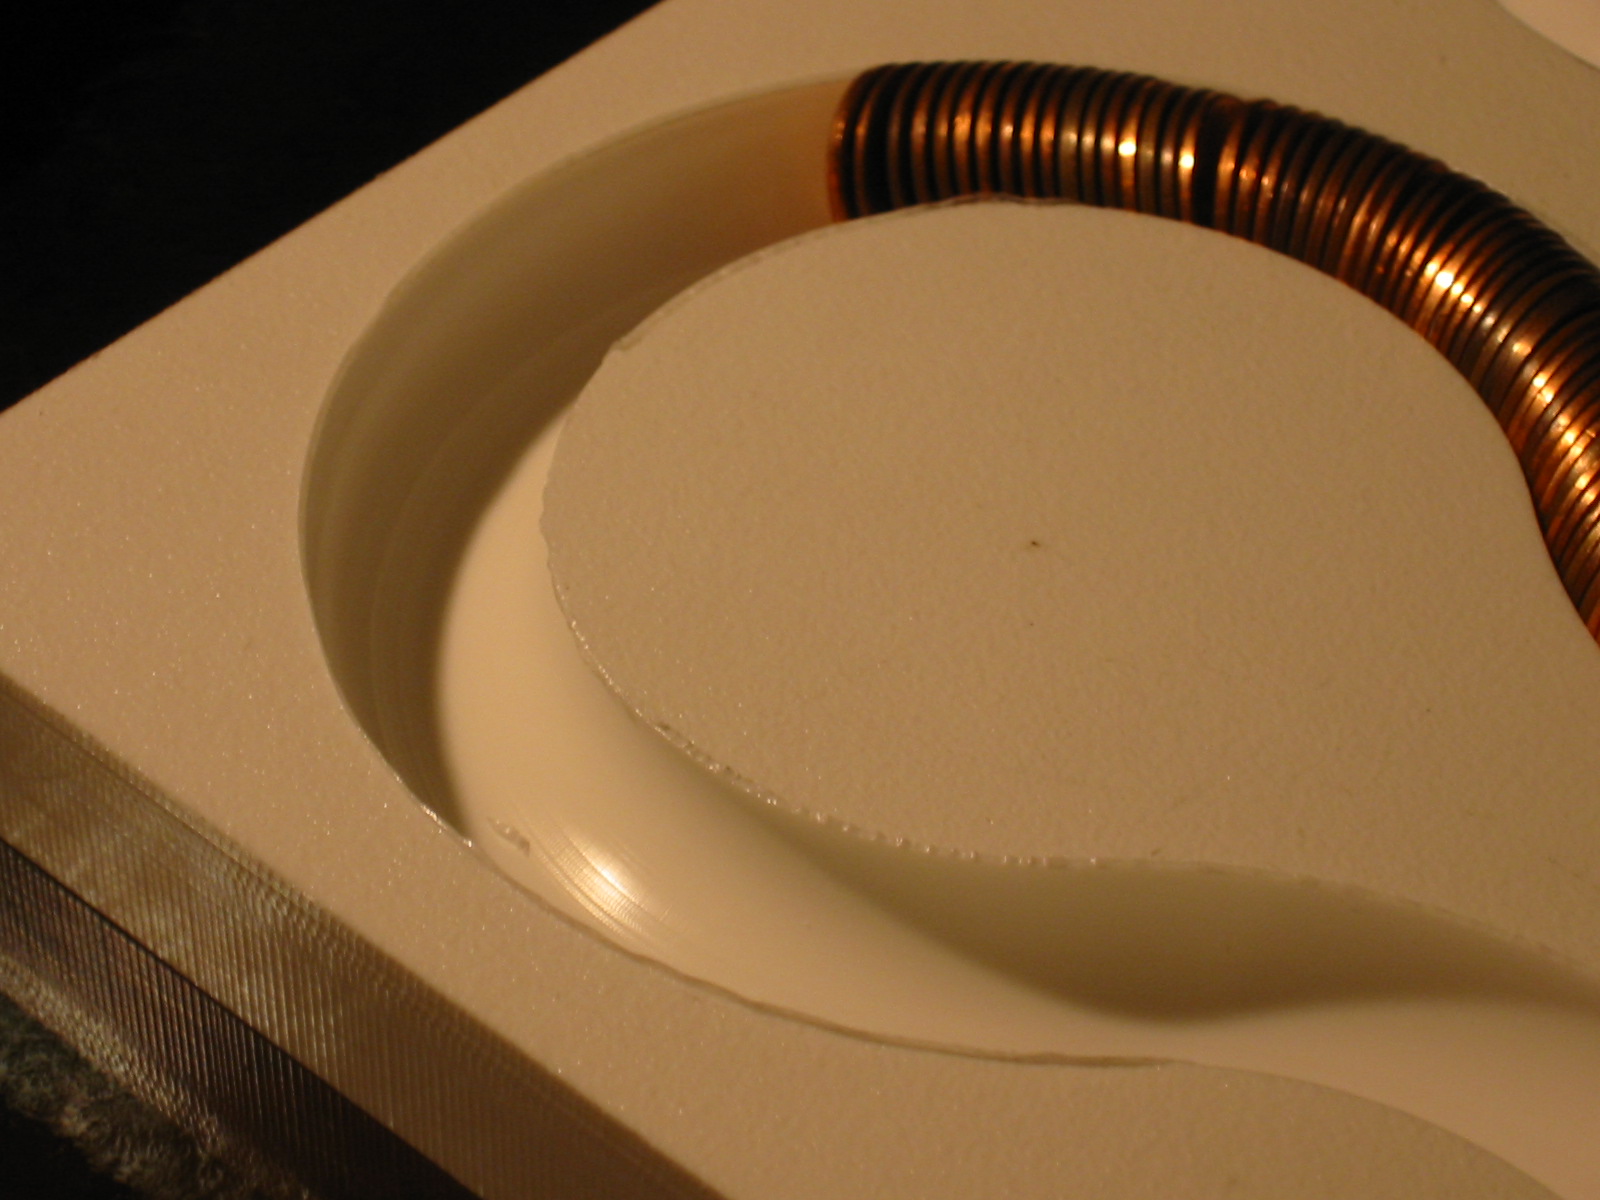
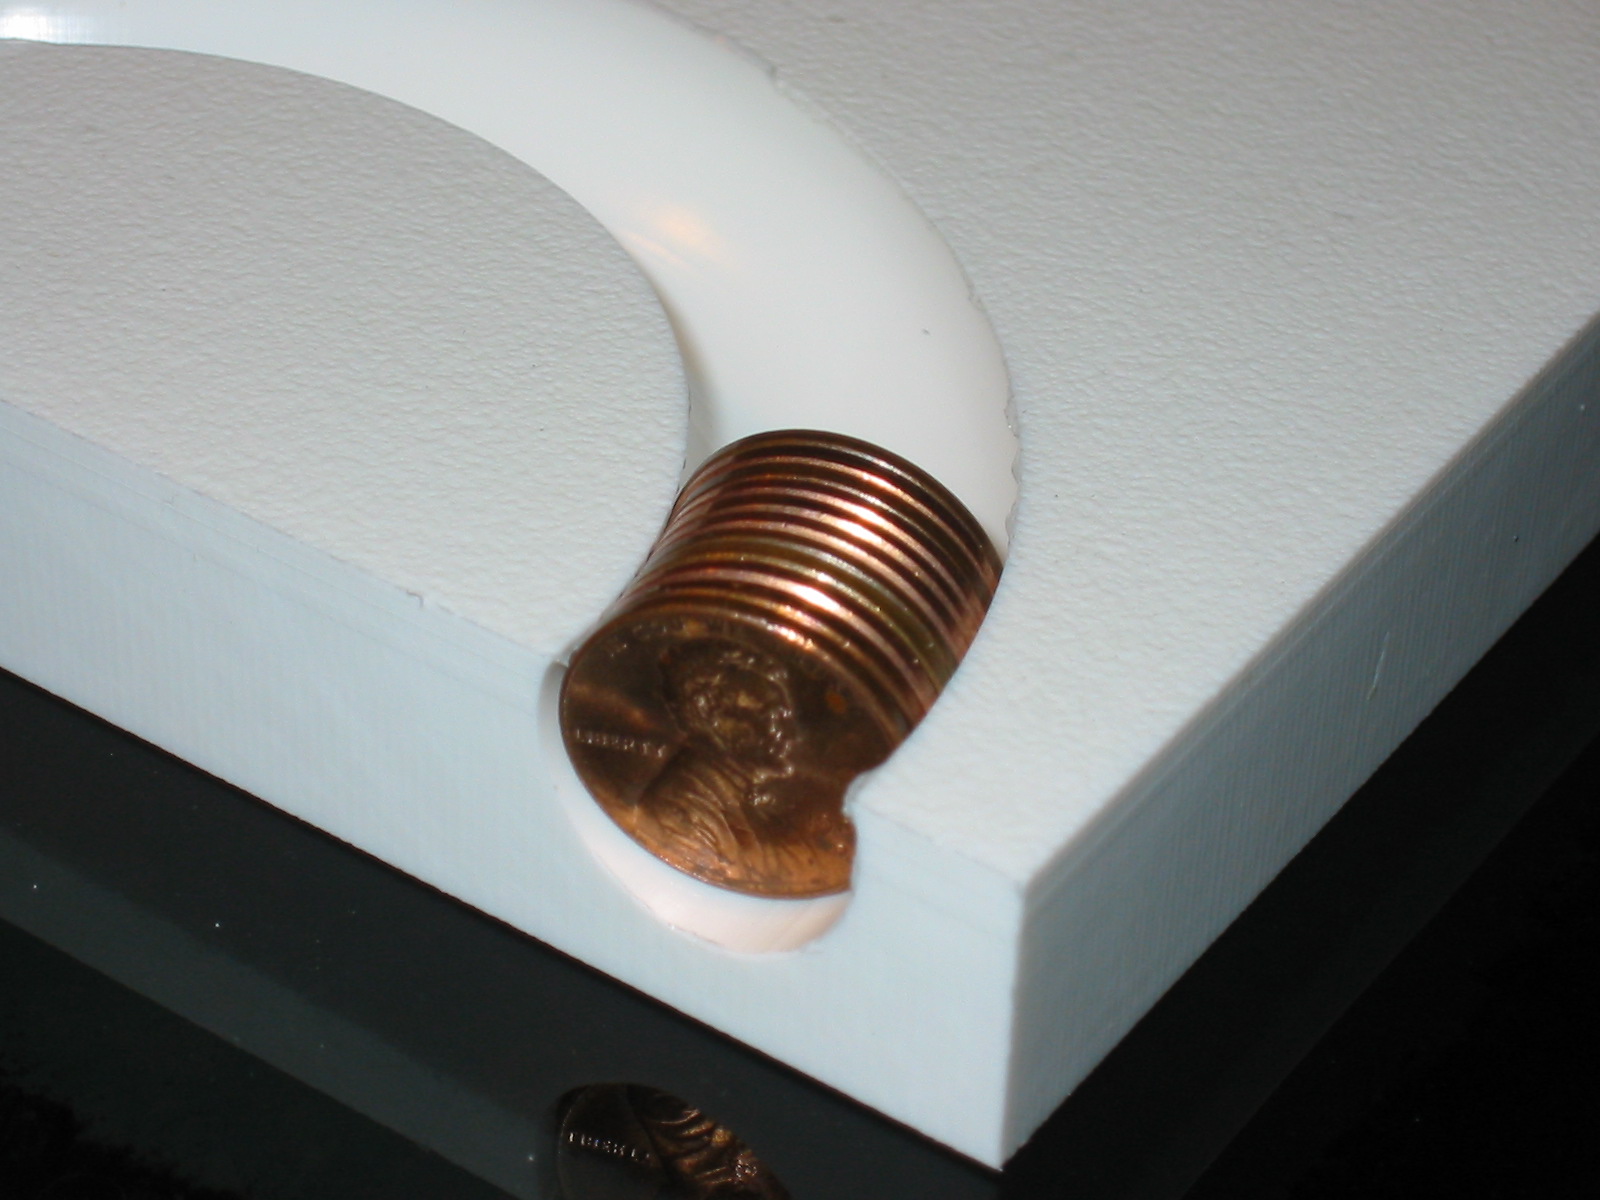
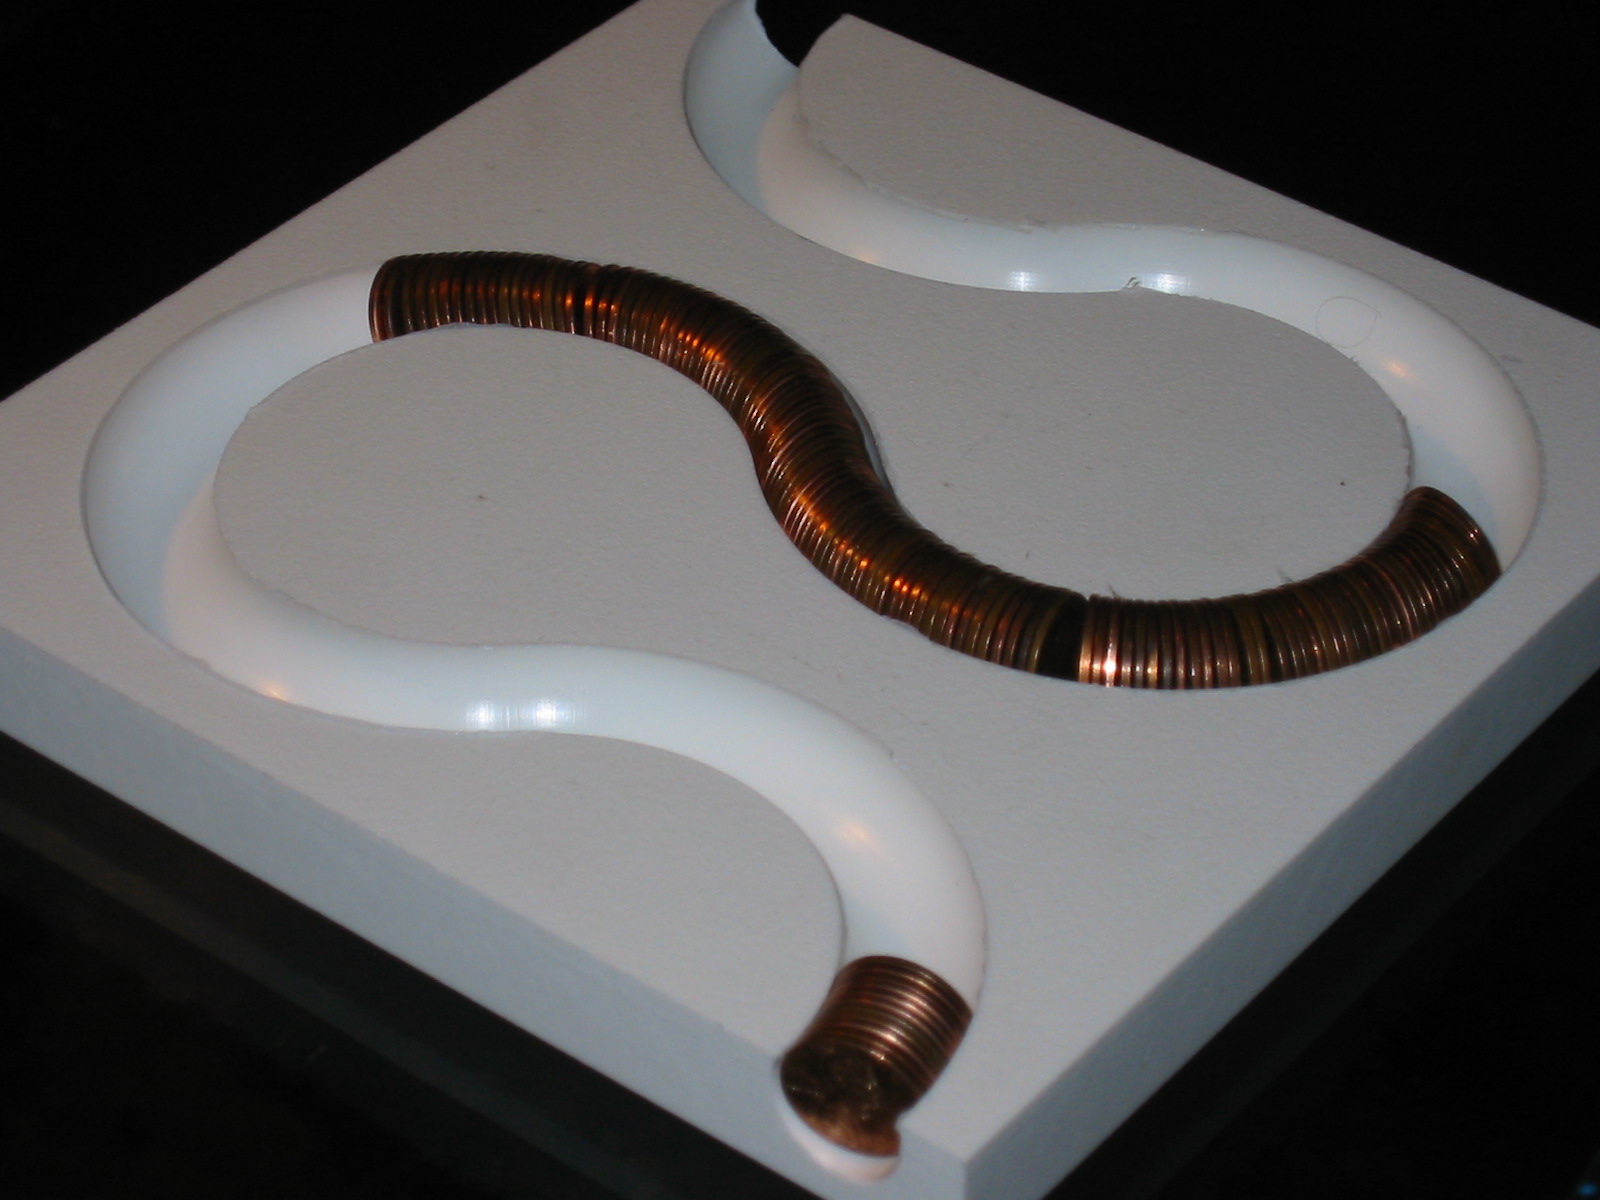
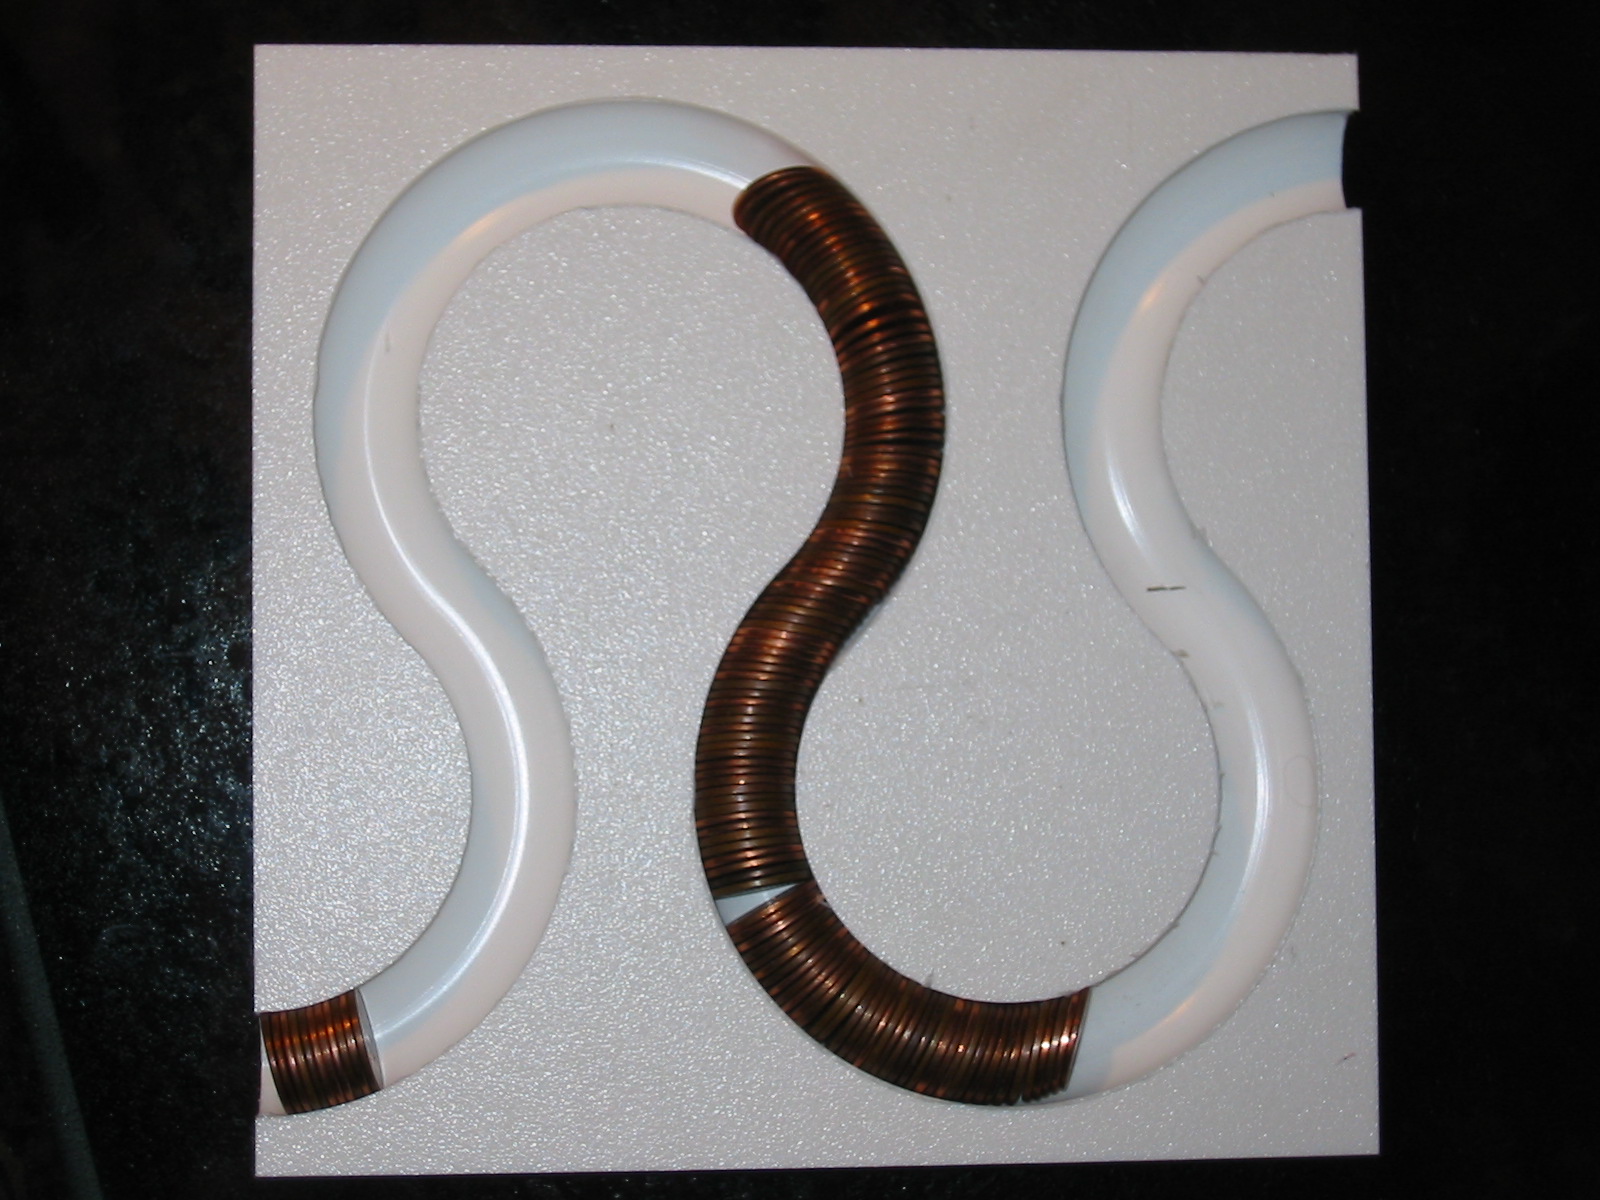
The penny slab was the highlight of the day -- pics attached. It is not
very practical as a penny holder because the pennies do not want
to fan out as they must along the curves. But it is a very beautiful
object and thanks in part to the HDPE plastic (machines like butter)
it came off without a hitch on the very first try.